
Vegetables
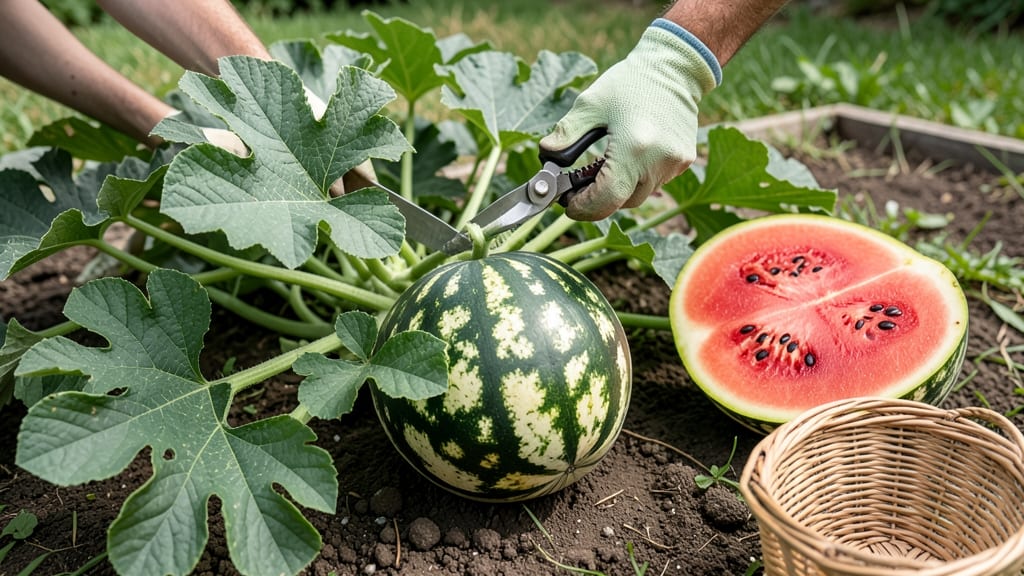
Knowing the right time to harvest watermelon 🍉 ensures sweet, juicy slices instead of bland or overripe disappointment.
Picking too early means watery, underripe flesh—while waiting too long risks a seedy, mushy mess. The difference between a perfectly ripe melon and a garden flop often comes down to three simple tests most gardeners miss.
From the cream-colored ground spot to the telltale thump, these science-backed cues take the guesswork out of harvest timing. Whether you're growing Seedless varieties or classic Crimson Sweet, mastering these tricks guarantees a harvest window of peak flavor.
Below, I’ll walk you through each ripeness test, common mistakes to avoid, and how to adjust for your local climate—so you can go from vine to table with confidence.

3 Science-backed ripeness tests to harvest watermelons at peak sweetness
Nothing beats the satisfaction of slicing into a perfectly ripe watermelon—bursting with sweetness and crisp texture. But how do you know when your homegrown melons are ready? Overripe watermelons develop seedy, mushy flesh, while underripe ones taste bland and firm.
The solution? These three science-backed ripeness tests that guarantee you harvest at peak flavor every time.
I’ve tested these methods in my own garden over years, and they never fail. The field spot test, thump test, and ground spot test each reveal different clues about a watermelon’s readiness.
Combine them for foolproof results. Let’s break down each method so you can confidently pick your melons when they’re at their sweetest.
| Test Method | How to Perform | Ripeness Indicator | Flavor & Texture |
|---|---|---|---|
| Field Spot Test | Press thumbnail into cream-colored spot on melon’s underside. If skin yields slightly, it’s ripe. | Spot turns yellowish or cream-colored (not white or green). | Sweet, juicy, crisp flesh with minimal seeds. |
| Thump Test | Knock on melon’s blossom end (opposite stem). Listen for a deep, hollow sound. | Sound is dull (not sharp or thud-like). | Peak sweetness, balanced texture (not mushy). |
| Ground Spot Test | Check the cream-colored patch where melon rested on soil. It should feel slightly soft. | Spot is dull (not shiny) and yellowish. | Maximum sugar content, tender but firm. |
The field spot test is my go-to because it’s the most reliable for home gardeners. Start by locating the cream-colored patch on the melon’s underside—the area that touched the ground. Press your thumbnail into this spot.
If the skin gives way slightly (but doesn’t bruise), your watermelon is ready. A hard spot means it’s underripe, while a soft, mushy spot signals overripeness.
For the thump test, tap the blossom end (the flat side opposite the stem) with your knuckles. A ripe watermelon produces a deep, hollow sound, like knocking on a wooden door.
An underripe melon sounds sharp, while an overripe one feels dull and thuds like a drum. Pro tip: Do this test in the morning when melons are cooler for more accurate results.
The ground spot test is often overlooked but equally important. The patch where the watermelon rested on the soil should turn from white to cream or yellowish. Run your fingers over it—ripe spots feel slightly soft, almost powdery.
If the spot is still green or shiny, the melon needs more time. This test works best when combined with the others for confirmation.
Here’s a pro trick I learned from my local extension agent: Combine all three tests for the most accurate results. For example, if the field spot is ripe but the thump sounds sharp, wait a day or two.
Conversely, if two tests say “ripe” but the third is borderline, harvest it immediately—melons don’t ripen further after picking.
Timing is everything when it comes to watermelon ripeness. In my Zone 6a garden, I start testing melons in early August, but your harvest window depends on your climate.
If you’re in a hotter region, melons may ripen faster. Always check the days to maturity for your specific variety—most take 75-90 days from planting.
Once you’ve confirmed ripeness, harvest your watermelon by cutting the vine 1-2 inches from the stem with a clean knife. Leave a small section of vine attached—this helps the melon heal and ripen slightly after picking.
Store ripe watermelons in a cool, dry place (50–55°F) for up to two weeks, or enjoy them immediately for the freshest flavor.
Remember, there’s no substitute for experience. The more watermelons you test, the better you’ll get at recognizing the perfect moment. Next time you’re in your garden, grab a melon and give these tests a try—your taste buds will thank you! 🍉
When to harvest watermelons by variety: days to maturity guide
Watermelon varieties ripen at different speeds, but days to maturity are just the starting point. Your local climate, sunlight exposure, and soil quality can shift harvest windows by 2-4 weeks.
In hot, sunny regions like USDA Zone 9-10, melons mature faster—sometimes 10-15 days earlier—while cooler zones may need extra time. Always adjust your expectations based on these factors to avoid disappointment.
For example, Seedless varieties often take 75-85 days to reach peak ripeness, but Crimson Sweet can stretch to 90 days in less-than-ideal conditions. Sugar Baby (a smaller, faster-maturing type) may be ready in just 65-75 days.
Tracking your planting date and local frost dates helps you plan harvests before the first frost threatens your crop.
Here’s how to use this guide: First, check your variety’s days to maturity from the table below. Then, add 5-10 extra days if your summers are shorter or cooler than average.
For instance, if you’re in Zone 7 with frequent cloud cover, a 75-day variety might not be ready until 85 days after sowing.
| Variety | Days to Maturity | Harvest Window | Best For |
|---|---|---|---|
| Seedless (e.g., Sugar Baby, Crimson Sweet) | 75–85 days | Mid-to-late summer | Home gardens, containers |
| Sugar Baby (small, round) | 65–75 days | Early to mid-summer | Small spaces, quick harvests |
| Crimson Sweet (large, striped) | 80–90 days | Late summer | Long seasons, warm climates |
| Charleston Gray (heirloom) | 85–95 days | Late summer | Traditional gardens, seed saving |
📅 Note: Adjust harvest times by +5–10 days in cooler climates or shorter growing seasons.
Once you’ve nailed down your variety’s timeline, monitor environmental cues like temperature and daylight hours. Watermelons grown in hotter climates (above 85°F) may ripen 10-15 days faster, while cooler summers can extend maturity by 2 weeks.
For example, if you planted Sugar Baby on May 1st in Zone 5, expect harvests around July 15–25, but in Zone 9, they might be ready by June 20–July 5.
Pro tip: Use black plastic mulch to warm the soil and speed up ripening in cooler zones. This can shave off 5-7 days from your days to maturity by keeping roots consistently warm.
Pair this with drip irrigation to maintain steady moisture—watermelons need 1-2 inches of water weekly during fruiting to avoid stress that delays ripening.
Finally, combine days to maturity with visual ripeness tests (like the ground spot or thump test) to confirm readiness. Even if your variety’s timeline suggests it’s time, a melon that’s still firm to the touch or has a green stem end needs more time.
Patience here prevents underripe, seedy disappointment and ensures a harvest worthy of summer celebrations.