
How To
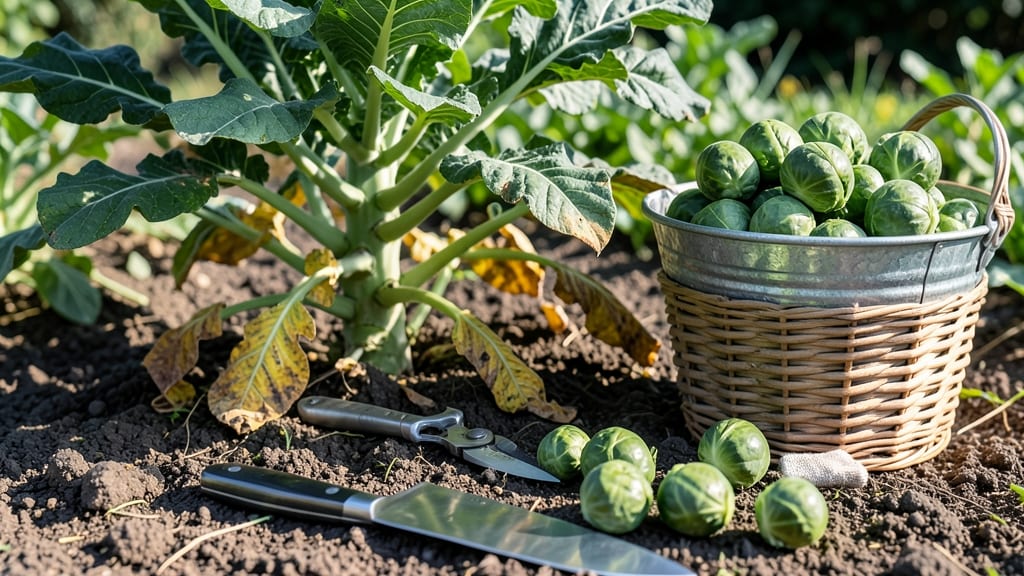
Harvesting Brussel sprouts 🥦 at the right time turns a simple garden task into a flavor-packed victory.
Picture this: you’ve waited months for those tiny green buds to swell into something edible, only to pick them too early—and end up with bland, bitter sprouts that taste more like disappointment than dinner.
The trick? Knowing when those leaves tighten just right around the stems, signaling peak sweetness and texture.
Timing isn’t just about avoiding tough, woody sprouts; it’s about giving your plant the best chance to keep producing. Miss the window, and you might as well say goodbye to that second harvest.
Below, I’ll walk you through the exact moment to pick them, the tools to use, and how to store what you harvest so it stays crisp for weeks.
Ready to turn your garden’s hard work into a pantry full of homegrown goodness? Let’s dive into the step-by-step guide that’ll have you harvesting like a pro.
When to harvest Brussel sprouts: the leaf test for perfect timing
Timing your Brussel sprout harvest is everything—pick too early, and you’ll end up with tiny, underdeveloped sprouts. Harvest too late, and they’ll turn bitter or woody. The key lies in the leaf test, where the outer leaves tighten around the sprout like a protective hug.
This simple visual cue tells you exactly when to act, ensuring your harvest delivers that perfect balance of crispness and sweetness.
Brussel sprouts are cool-season crops, thriving in fall temperatures between 40°F and 60°F. If you planted in early spring, your harvest window opens around October or November.
For late-summer plantings, aim for late fall before hard frosts hit. The leaf test works year-round, but timing matters most when temperatures dip—cold snaps can accelerate ripening, so stay vigilant.
Here’s how to master the leaf test and avoid the most common mistakes that turn great sprouts into garden flops:
Why does the leaf test work so well? Brussel sprouts grow from the bottom up, and the plant naturally prioritizes the lowest sprouts first.
When the outer leaves tighten, it’s the plant’s way of saying, “I’m done feeding this one—harvest it now!” Ignoring this signal can lead to bitter, woody sprouts or even premature plant death as energy is wasted on overripe vegetables.
Harvesting at the right time isn’t just about flavor—it’s about encouraging regrowth. If you pick sprouts when they’re ready, the plant will keep producing new ones up the stem for weeks.
This can extend your harvest by 4–6 weeks if you’re consistent. Skipping harvests or waiting too long, however, can exhaust the plant, leaving you with a single, disappointing batch.
One of the biggest mistakes gardeners make is harvesting too early to “get it over with.” But small sprouts lack the sweetness and texture of fully mature ones. Think of it like waiting for a ripe tomato—you wouldn’t pick it green just because it’s there!
Patience pays off with Brussel sprouts, too. Another trap? Harvesting all at once. This stresses the plant and can end production early. Instead, pick a few sprouts every 2–3 days to keep the plant happy and productive.
Pro tip: Harvest on a dry morning after the dew has evaporated. This reduces the risk of rot and makes the sprouts easier to handle. Use a sharp knife or pruners to cut the stem just above the sprout, leaving a small stub.
This minimizes damage to the plant and encourages cleaner regrowth. Avoid twisting or pulling—this can tear the stem and invite pests or disease.
If you’re growing multiple varieties, like the classic green or the vibrant red types, pay attention to their specific color cues. Purple or red sprouts, for example, develop their rich hues closer to maturity, so watch for deepening color as your primary signal.
And remember: Frost can sweeten sprouts, but a hard freeze will ruin them. If a light frost is forecast, harvest what you can and enjoy the extra-sweet flavor it brings!
Finally, don’t forget the post-harvest ritual. After picking, give your plant a light drink of water and a quick check for pests. If the stem looks healthy, it might just keep producing for another round.
With the right timing and care, you could end up with two harvests in one season—that’s the magic of mastering the leaf test!
Step-by-step harvesting techniques: cutting, twisting, OR breaking?
Harvesting Brussel sprouts correctly can mean the difference between a bountiful fall harvest and a disappointing one. The three most common methods—cutting, twisting, or breaking—each have unique benefits and risks.
I’ve tested all three in my garden, and here’s what I’ve learned about maximizing yield while keeping your plant healthy for future growth.
Your choice of harvesting method depends on your plant’s maturity and how you plan to use the sprouts. For example, cutting from the bottom up works best for continuous harvests, while twisting individual sprouts is ideal for spot-picking.
Let’s break down each technique, including the tools you’ll need and how to avoid damaging the plant.
Pros & Cons of Harvesting Methods
Cutting from Bottom Up
- ✅ Maximizes yield by encouraging new sprouts
- ✅ Best for continuous harvests over weeks
- ✅ Minimizes plant stress if done correctly
- ⚠️ Requires sharp pruners to avoid tearing
- ⚠️ Must leave 6+ inches of stem for regrowth
Twisting Individual Sprouts
- ✅ Selective harvesting for spot-picking
- ✅ No tools needed—just your hands
- ✅ Good for small batches or gift-giving
- ⚠️ Can damage stem if twisted too hard
- ⚠️ Limited to mature sprouts only
Breaking Stems
- ✅ Fastest method for bulk harvests
- ✅ Works well for late-season harvests
- ✅ No tools required
- ⚠️ High risk of plant damage if not careful
- ⚠️ Stops further growth on that branch
For cutting from the bottom up, use clean, sharp pruners or a knife sterilized with rubbing alcohol. Start at the lowest mature sprout (about 1–1.5 inches wide) and cut just above the sprout, leaving 6 inches of stem above it.
This method encourages the plant to produce more sprouts higher up, extending your harvest window by 3–4 weeks.
If you prefer twisting individual sprouts, grip the sprout firmly near the base and twist gently until it snaps cleanly. This works best for fully mature sprouts that are ready to eat immediately.
Avoid twisting immature or tender sprouts, as they’ll tear and become unusable. I’ve found this method ideal for weekly small harvests when I only need a handful.
When using the breaking stems technique, grasp the sprout firmly and bend it downward until it snaps. This is my go-to for late-season harvests when the plant is nearing the end of its cycle.
However, be cautious—overzealous breaking can damage the main stem, reducing future yields. Always leave at least 12 inches of stem intact if you plan to harvest again.
Regardless of the method, always harvest on a dry day to prevent soil from clinging to your sprouts. After harvesting, rinse gently and store in the fridge for up to 5 days or blanch and freeze for long-term storage.
The key to a successful harvest is consistency and patience—your plant will reward you with sweeter, larger sprouts if you follow these techniques.