
How To
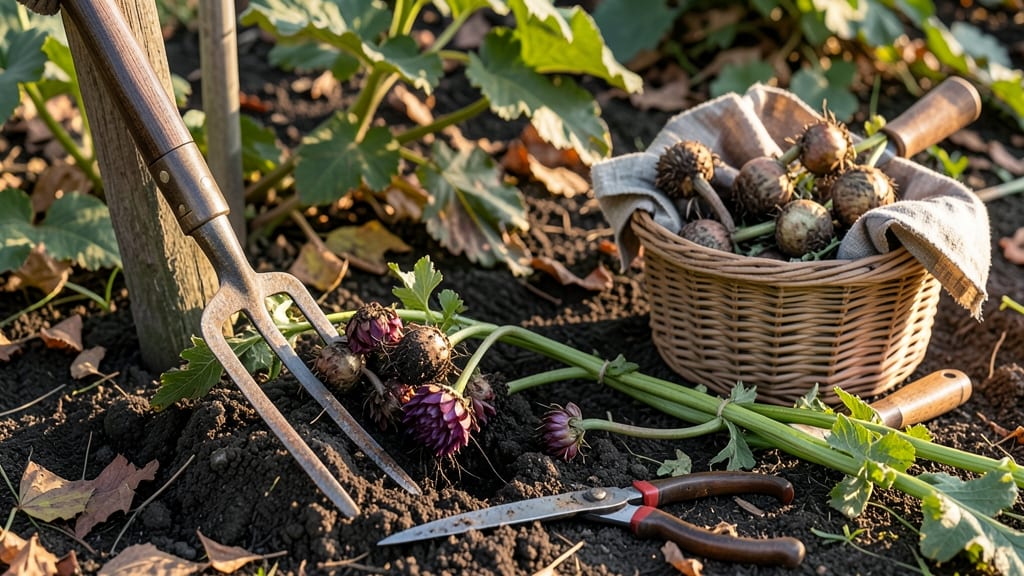
Harvesting dahlia tubers 🌼 after the first frost is the key to saving your plants for next year’s garden—and doing it wrong can mean losing them entirely.
Picture this: you’ve spent months tending to your dahlias, watching them bloom in vibrant colors, only to risk ruining everything with a single misstep when digging up those precious tubers. The right timing and method make all the difference between a thriving spring comeback and a sad pile of mush.
In this guide, I’ll walk you through the exact steps to harvest your dahlias at the perfect moment—when the foliage has died back but the tubers are still firm and full of life.
You’ll learn how to dig them up without damage, clean and cure them properly, and store them so they’re ready to replant come spring.
Whether you’re a first-time gardener or a seasoned pro, these proven techniques will ensure your dahlias survive winter and return stronger than ever. Let’s get started!
When to harvest dahlia tubers for maximum survival and storage success
Timing is everything when harvesting dahlia tubers. Digging too early risks damaging tender roots, while waiting too long can leave tubers vulnerable to frost damage. The ideal window falls between the first frost and when foliage completely dies back—typically October to November in most regions.
In USDA Zone 6a (like my garden in the Midwest), I aim to harvest within 2-3 weeks after frost kills the tops. This gives tubers time to harden off while avoiding rot from lingering moisture.
Warmer climates (Zones 7+) may extend this window until December, but never let tubers sit in frozen ground.
| Climate Zone | Harvest Window | Key Signs | Action |
|---|---|---|---|
| Zones 3-5 (Cold) | Late September - October | Foliage brown/crispy, ground frozen | Dig immediately after frost |
| Zone 6a (Midwest) | October - Early November | Leaves fully dead, soil 40°F+ | Wait 2-3 weeks post-frost |
| Zones 7-9 (Mild) | November - December | No regrowth after frost | Harvest before ground freezes |
| Zone 10+ (Tropical) | December - January | Foliage yellows naturally | Dig after dry season begins |
Never harvest when green foliage remains—this indicates active growth, and digging will shock the plant. I once made the mistake of harvesting too early in Zone 6a, and my tubers sprouted prematurely during storage.
The rule is: wait until all leaves are crispy brown, even if frost hasn't arrived.
Check tuber readiness by gently probing the soil with a trowel. If you see firm, plump tubers (about 3-5 inches long), they're ready. Shriveled or soft tubers mean you waited too long. In my experience, dwarf varieties mature faster than standard dahlias, so monitor them closely.
Regional adjustments matter! In coastal areas with mild winters, tubers may need protection from wet soil. I've used black plastic mulch in Zone 7 to simulate frost conditions and trigger dormancy. For mountain gardens, harvest earlier—early October—since frosts come sooner.
Watch for disease signs like moldy stems or blackened tubers. These indicate rot and mean you should harvest immediately, even if foliage isn't fully dead. I lost an entire batch of Café au Lait tubers to late-season rot—now I dig at the first sign of trouble.
Use a soil thermometer to confirm readiness. Tubers thrive when soil temps drop to 40-50°F. If your area has erratic frosts, cover plants with frost cloth 24 hours before digging to prevent shock. This gives tubers time to adjust to temperature changes.
Pro tip: Mark your calendar 6-8 weeks before your average first frost. This gives you time to prepare storage containers and monitor foliage. I set reminders for October 1st in Zone 6a—my mental "harvest prep day."
If you're unsure, harvest slightly early—tubers can cure in storage. But never leave them in frozen ground, as ice crystals will rupture cell walls. Last winter, I forgot and dug 2 weeks late—my Galaxy tubers were mushy by spring. Lesson learned: when in doubt, dig out! 🌱
Step-by-Step dahlia tuber digging and preparation process
Now that you've identified the perfect time to harvest your dahlia tubers, it's time to focus on the actual digging and preparation process. Proper technique ensures your tubers stay firm and healthy for next year's planting.
The key is to work gently but thoroughly—dahlias are delicate and can bruise easily.
Start by gathering your tools: a garden fork, pruning shears, a bucket for tubers, and a soft brush or cloth for cleaning. Wear gloves to protect your hands from dirt and sharp tuber edges.
This process should take about 1-2 hours depending on the size of your dahlia patch.
Step-by-Step Guide to Harvesting Dahlia Tubers
- 🌱 Step 1: Cut Back Foliage
Use sterilized pruning shears to cut back the dahlia stems to about 6 inches above the soil. This reduces the risk of disease transfer during storage and makes the tubers easier to locate. - 🪴 Step 2: Loosen the Soil
Use a garden fork to gently loosen the soil around the base of the plant. Work in a circular motion about 12 inches from the stem to avoid damaging the tubers directly. - ✂️ Step 3: Lift the Tubers
Carefully lift the entire plant from the soil, tubers and all. Shake off excess soil, but avoid scrubbing—this can cause tuber bruising. Place the tubers in a bucket or cardboard box lined with newspaper. - 💧 Step 4: Clean the Tubers
Use a soft brush or cloth to remove any remaining soil. Avoid using water—moisture promotes rot. If stubborn dirt remains, use a dry brush to gently scrub. - ☀️ Step 5: Cure the Tubers
Place the tubers in a cool, dry, and shaded area (around 55-60°F) for 2-3 weeks to cure. This hardens the skin and reduces storage rot. Avoid direct sunlight or heat sources. - 🌿 Step 6: Inspect for Damage
After curing, inspect each tuber for soft spots, mold, or shrinkage. Discard any damaged tubers immediately—rot spreads quickly during storage. - 🪣 Step 7: Store Properly
Store healthy tubers in a well-ventilated container with dry peat moss or sand (not sawdust). Keep them in a cool, dark place (around 35-45°F) until planting next spring.
One common mistake is rushing the curing process. If you skip this step, your tubers may develop fungal infections during storage. I always label my storage containers with the dahlia variety and the harvest year to avoid confusion when replanting.
For large dahlia collections, consider storing tubers in mesh bags instead of cardboard boxes. This improves air circulation and reduces humidity buildup. Just ensure the bags are completely dry before storage to prevent mold growth.
With these steps, your dahlia tubers will stay viable until spring, ready to bloom again with minimal effort. The key is patience—proper curing and storage are worth the extra time to ensure next year's success. 🌼