
How To
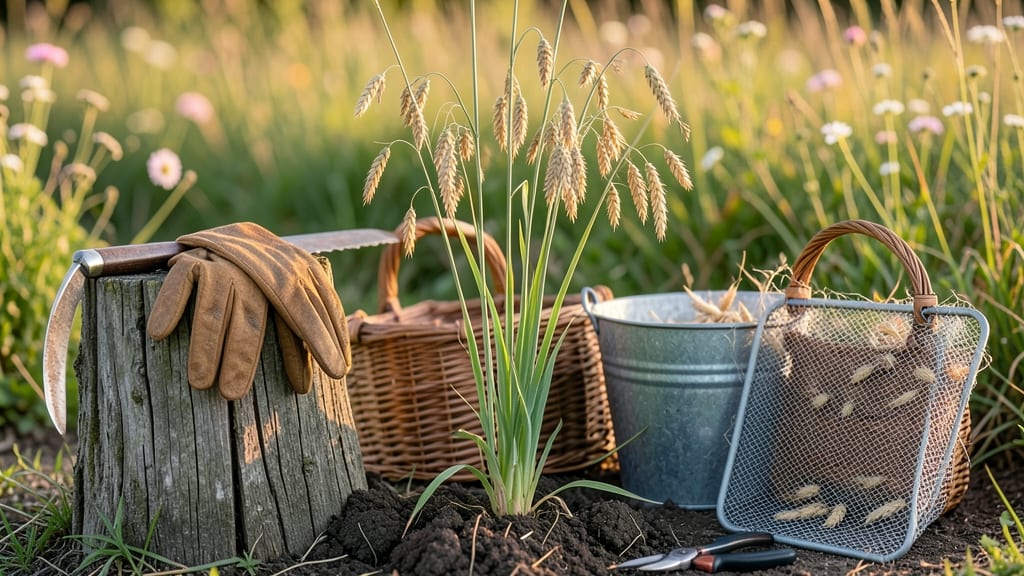
Harvesting oats at the right time means turning golden seed heads into a high-quality crop—whether for baking or livestock feed.
Picture this: you’ve waited months for your 🌾 oats to mature, only to cut them too early and end up with damp, unusable grain. Or worse, you wait too long and lose yield to weather or pests. Getting the timing right isn’t just about patience—it’s about strategy.
In this guide, I’ll walk you through the key signs of maturity, from seedhead color to moisture levels, and share the tools you’ll need for a clean, efficient harvest.
Whether you’re a small-scale gardener or a homesteader, these steps will help you maximize your yield and store your oats properly for long-term use.
By the end, you’ll know exactly when to cut, how to dry them correctly, and where to store them to keep them fresh for months. No more wasted effort—just a bountiful harvest you can be proud of.
Perfect timing for harvesting oats: when and how to identify readiness
Harvesting oats at the perfect moment ensures you get the highest yield and best quality grain. Timing is everything—cut too early, and you’ll lose potential; wait too long, and the seeds may shatter or spoil.
For most oat varieties, the ideal harvest window falls between late summer and early fall, typically 90-120 days after planting, depending on your climate and variety.
The key to knowing when your oats are ready lies in observing three critical indicators: plant height, seedhead color, and moisture content.
Spring oats and winter oats may mature at slightly different times, so pay close attention to these visual and tactile cues to avoid missing the harvest window. For example, spring oats often mature earlier than winter oats, which can stretch into early fall in cooler regions.
| Indicator | Ready Stage | Not Ready Stage | Action |
|---|---|---|---|
| Plant Height | 3-4 feet tall | Less than 2 feet | Wait 1-2 weeks |
| Seedhead Color | Golden-brown and dry | Green or partially brown | Monitor daily |
| Moisture Content | Grains rattle when shaken | Grains feel moist | Harvest on dry day |
| Stem Condition | Dry and yellowing | Green and stiff | Avoid cutting |
One of the most reliable ways to check oat maturity is the "shake test". Gently shake a seedhead—if the grains inside rattle loudly, your oats are ready. If they feel soft or moist, they need more time.
This test is especially useful for small-scale gardeners who may not have access to fancy equipment. Combine this with observing the golden-brown color of the seedheads, and you’ll have a foolproof method for determining readiness.
For spring oats, which are typically planted in early spring, the harvest window often opens in late July or early August, depending on your location.
These varieties tend to mature faster than winter oats, which are sown in late summer or early fall and may not reach maturity until September or October. If you’re growing both types, keep a close eye on each variety separately to avoid missing the harvest for either.
Weather plays a crucial role in oat maturity. Ideally, harvest your oats on a dry, sunny day with low humidity. This minimizes the risk of mold growth and ensures the grains dry evenly after cutting.
If rain is forecasted, prioritize harvesting immediately—wet conditions can lead to spoilage or even rot. In regions with unpredictable weather, like the Pacific Northwest, consider harvesting slightly earlier to stay ahead of potential downpours.
Another key factor is the moisture content of the oats. At harvest, the grains should have a moisture level of around 12-15%. You can test this by cutting a small sample of seedheads and allowing them to dry in a warm, dry place for a day or two.
If the grains feel crisp and dry to the touch, they’re ready. If they still feel damp, wait another week before harvesting. Overly moist oats will spoil quickly, while those that are too dry may lose nutritional value.
If you’re growing oats for livestock feed, you can harvest slightly earlier when the seedheads are still slightly green but the grains are firm. This ensures higher protein content, which is beneficial for animals.
However, for human consumption, such as baking or cooking, wait until the seedheads are fully golden-brown and dry. This ensures the best flavor and texture in your final product, whether you’re making oatmeal or baking bread.
Don’t forget to consider the variety-specific maturity dates. Some oat varieties, like Avena sativa, mature faster than others, such as winter-hardy varieties designed for colder climates. Always check the seed packet or your local agricultural extension service for recommended harvest times tailored to your specific variety.
This small step can save you from harvesting too early or too late, both of which can drastically reduce your yield.
Once you’ve confirmed your oats are ready, act quickly. Delaying harvest can lead to seed shattering, where the grains fall to the ground and are lost. This is especially common in oats, which are prone to dropping their seeds when fully mature.
By harvesting at the right time, you’ll maximize your grain yield and ensure you have enough oats for your needs, whether that’s feeding your family, livestock, or saving seeds for next year.
Essential tools and step-by-step harvesting process for oats
Harvesting oats efficiently requires the right tools and a methodical approach to ensure peak yield and grain quality. Whether you're using a combine harvester for large fields or manual tools for small plots, preparation is key to a smooth harvest.
The right equipment minimizes waste and maximizes the time you spend enjoying your homegrown oats instead of struggling with stubborn stalks.
For small-scale gardeners, a scythe or sickle works well for cutting oat stalks, while a grain cradle or binder twine can help bundle them for drying. Larger operations benefit from a combine harvester, which cuts, threshes, and cleans grain in one pass.
Regardless of your setup, prioritize tools that fit your harvest scale and budget while ensuring safety during outdoor work.
- Step 1: Cut the Oats
Use a scythe, sickle, or combine harvester to cut oats when seed heads are golden-brown and dry. Leave a 2-inch stubble to prevent lodging and soil loss.
- Step 2: Bundle and Dry
Gather stalks into small bundles (2-3 feet long) and tie with twine. Hang bundles upside down in a well-ventilated area (like a barn or shed) for 1-2 weeks to dry completely.
- Step 3: Thresh the Grain
Once dry, beat stalks with a flail or run through a thresher to separate grains from chaff. For small batches, a clean tarp works to catch fallen grain.
- Step 4: Clean and Store
Winnow grains by tossing them in the air to let wind remove chaff, then sift through a fine mesh screen. Store clean oats in airtight containers in a cool, dry place.
Safety is critical when harvesting oats outdoors. Always wear gloves and closed-toe shoes to protect against sharp stalks and equipment. If using a combine harvester, follow manufacturer guidelines and avoid loose clothing or jewelry. Work during dry, calm weather to prevent mold growth and ensure efficient drying.
Timing your harvest correctly is just as important as the process itself. If oats are harvested too early, the grains won’t be fully mature, and if left too late, they may shatter or attract pests.
Aim for late summer to early fall when seed heads are golden-brown and grains rattle when shaken—a sure sign of readiness.
For homesteaders, consider saving some oats for seed next season by storing a portion in a paper bag in the freezer. This preserves viability while keeping your garden sustainable. With the right tools and technique, harvesting oats becomes a rewarding part of your gardening routine that yields delicious results.