
How To
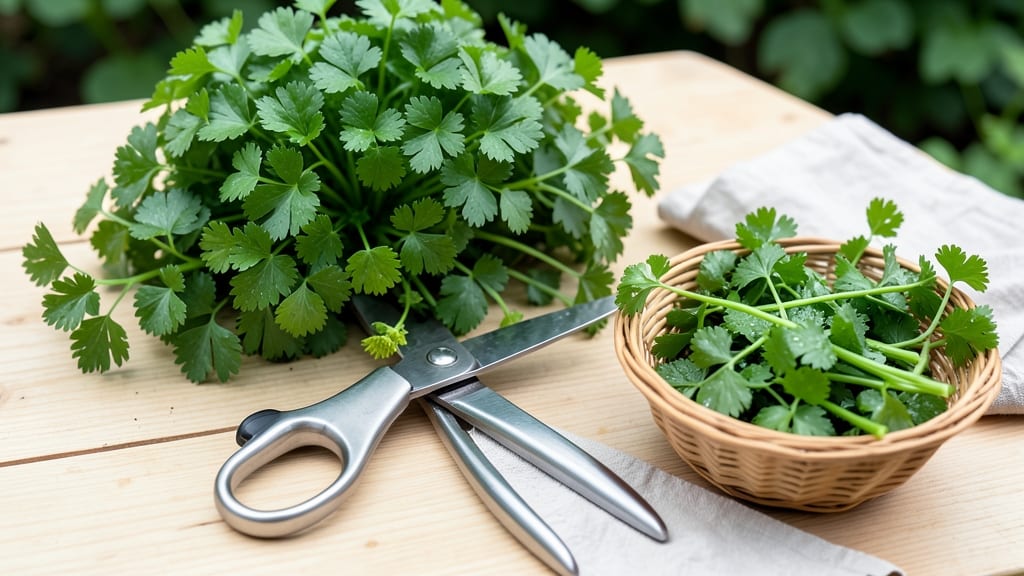
To harvest parsley and dry it properly, you’ll need just a sharp pair of scissors and a sunny spot—no fancy equipment required.
Picture this: your garden’s fresh parsley 🌿 wilting in the heat of summer, but instead of tossing it, you preserve its bright flavor for winter soups and roasted dishes. That’s the magic of drying herbs at home.
Timing is everything—harvest parsley when the leaves are fully mature but before the plant bolts, usually in late spring or early summer. A little patience here means richer flavor later.
Below, I’ll walk you through the best cutting techniques, drying methods (air-drying, oven-drying, and even dehydrator tricks), and how to store your dried parsley so it stays potent for up to a year.
Step-by-step guide to harvesting parsley for optimal drying results
Harvesting parsley at the right time and using the correct technique ensures your dried herb retains its bold flavor and vibrant color. Unlike many herbs, parsley doesn’t lose potency when dried properly—it just needs careful handling to preserve its essential oils.
I’ve learned through trial and error that timing is everything, especially when working with flat-leaf vs. curly parsley varieties.
Start harvesting when your parsley reaches 6-8 inches tall with fully developed leaves. This usually happens 75-90 days after sowing, depending on your climate. For year-round harvests, I plant two batches—one in early spring and another in late summermorning after dew has dried for maximum freshness.
How to Harvest Parsley for Drying
- 1 Choose the right variety: Flat-leaf parsley (Italian parsley) dries better than curly parsley due to its higher flavor concentration. Save curly parsley for fresh use.
- 2 Harvest in stages: Cut outer stems first, leaving the inner growth intact. This encourages regrowth and gives you multiple harvests. Avoid cutting more than one-third of the plant at once.
- 3 Use clean, sharp scissors: Snip stems at a 45-degree angle about 1 inch above a leaf node. This prevents water from pooling and promotes faster drying. Never pull leaves—it damages the plant.
- 4 Wash gently: Rinse stems in cool water to remove dirt, then pat dry with a clean towel. Avoid soaking, as excess moisture slows drying and promotes mold. Shake off excess water thoroughly.
- 5 Bundle stems: Gather 5-10 stems and secure them with a rubber band or twine. Hang bundles upside down in a dry, dark, well-ventilated area (like a pantry or closet). Avoid direct sunlight, which fades color and reduces potency.
- 6 Dry for 2-3 weeks: Parsley needs 2-3 weeks to dry completely. It’s ready when stems snap easily and leaves crumble between your fingers. Store in an airtight container away from light.
For curly parsley, which has a milder flavor, I recommend harvesting younger leaves for drying. The older, larger leaves tend to dry with a bitter aftertaste, so I reserve them for fresh use in salads or garnishes.
If you’re growing parsley for culinary purposes, focus on the flat-leaf variety—it’s the gold standard for drying.
One common mistake I see is harvesting parsley after it’s bolted or gone to seed. Once parsley bolts, its flavor becomes bitter and harsh, and drying it won’t improve the taste.
Always harvest before the plant sends up its flower stalks, which is usually 4-6 weeks before bolting occurs in warm climates.
To maximize your harvest, I also recommend pinching back the tips of young parsley plants when they’re about 4 inches tall. This encourages bushier growth and more leaves for future harvests.
Think of it as a pruning technique to shape the plant and boost productivity. Just be sure to leave at least 2-3 sets of leaves on each stem.
Once your parsley is fully dried, you’ll notice the leaves shrink significantly and turn a duller green. This is normal! The key to preserving flavor is minimizing oxidation during drying.
Store dried parsley in small batches—large quantities can lead to moisture buildup and spoilage. A glass jar with a tight-sealing lid is my go-to for long-term storage.
Pro tip: If you’re drying parsley for culinary use, crush the leaves lightly with your fingers before storing. This releases the essential oils and intensifies the flavor when you later use it in cooking.
Just be sure to label your jars with the harvest date—dried parsley keeps its best flavor for 6-12 months when stored properly.
Best drying methods for parsley: air-drying vs. dehydrator vs. oven
Once you’ve harvested your parsley at peak freshness, the next step is drying it properly to preserve its flavor and color. Each drying method has unique advantages, from the hands-off air-drying technique to the precise control of a dehydrator or oven.
Choosing the right method depends on your time, equipment, and desired results. Let’s break down the pros and cons of each to help you decide.
Before diving into methods, remember: essential oils in parsley evaporate quickly when exposed to heat. Gentle drying preserves these oils, which means better flavor.
Whether you’re drying flat-leaf or curly parsley, the goal is the same—lock in that vibrant green hue and robust taste for up to 12 months of storage.
| Method | Equipment Needed | Time Required | Flavor Preservation | Best For |
|---|---|---|---|---|
| Air-Drying | Hanging bundle, paper bag | 1-2 weeks | Excellent (gentle process) | Large batches, no equipment |
| Dehydrator | Dehydrator, trays | 6-12 hours | Good (low heat control) | Small batches, quick drying |
| Oven | Oven, baking sheet | 2-4 hours | Moderate (heat risk) | Small batches, urgent drying |
Air-drying is the most traditional method and requires minimal equipment. Simply tie your parsley stems into small bundles and hang them upside down in a dry, dark, and well-ventilated space. This method preserves essential oils beautifully and is ideal if you have time to wait. The drying process can take 1-2 weeks, but the result is parsley that retains its color and flavor like no other method.
For those short on time, a dehydrator is your best bet. Set it to 95°F (35°C) and spread the parsley leaves in a single layer on the trays. This method takes 6-12 hours and ensures even drying.
The low heat helps maintain the green color and prevents the parsley from losing its potency. Just be sure to check on it periodically to avoid over-drying.
Using an oven is a quick alternative, but it requires careful monitoring. Preheat your oven to its lowest setting, usually 170°F (75°C), and prop the door open slightly with a wooden spoon to allow moisture to escape.
Spread the parsley on a baking sheet lined with parchment paper and dry for 2-4 hours. While this method is faster, the risk of overheating can compromise flavor and color.
After drying, regardless of the method, let the parsley cool completely before storing it in an airtight container in a cool, dark place. Properly stored dried parsley can last up to 12 months, making it a worthwhile investment for any home gardener.
Whether you choose air-drying, a dehydrator, or the oven, the key is patience and attention to detail.