
How To
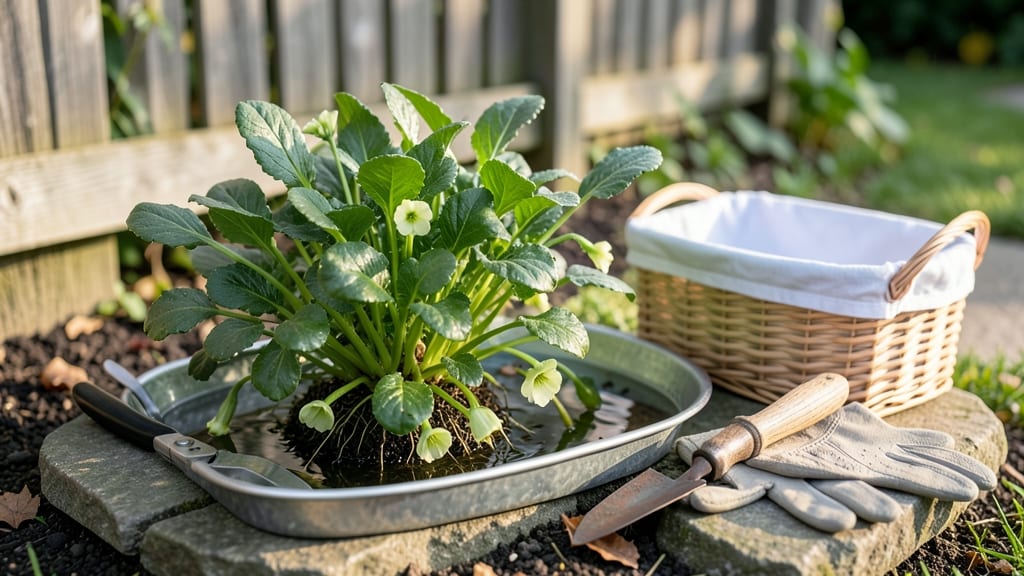
To harvest watercress at its peak, you’ll want to snip leaves when they reach 4-6 inches—that’s when the flavor pops and regrowth stays strong.
Watercress isn’t just a superfood—it’s a fast-growing, nutrient-packed green that thrives when harvested at the right time, and knowing exactly when to pick those lush leaves can mean the difference between mild and explosive flavor. 🌿
If you cut too early, you’ll get sparse regrowth; too late, and the leaves turn bitter. The key is timing—harvesting in the morning after the dew dries but before the heat sets in preserves crispness and keeps your plants productive.
Below, I’ll walk you through the step-by-step process, from the tools you’ll need to how to trim for continuous harvests without stunting your plants. Plus, I’ll share pro tips to avoid common mistakes that ruin watercress flavor.
When and how to harvest watercress for maximum flavor and growth
Harvesting watercress at the perfect moment transforms it from a mild green to a flavor-packed superfood. The 4-6 inch rule isn’t arbitrary—it’s when the plant’s nutrient density peaks and regrowth remains vigorous.
When you pick leaves at this stage, you’re essentially encouraging bushier growth while preserving that signature peppery kick.
Timing your harvest also depends on the plant’s maturity signals. Look for bright green, glossy leaves with soft stems—these are your cues. The best time of day to harvest is early morning, when leaves are crisp and hydrated, ensuring both flavor and texture stay optimal.
This also gives your plants time to recover before the heat of the day sets in.
Understanding the science behind regrowth is key. Watercress has a remarkable ability to re-sprout quickly when harvested correctly. Cutting just above the soil line or water surface (if growing in shallow water) stimulates new growth from the base.
This method ensures you’ll have a continuous supply of fresh leaves without overstressing the plant.
If you’re growing watercress in shallow water, the harvest process is slightly different. Use clean, sharp scissors or pruning shears to snip leaves just above the water line. This prevents damage to the root system while keeping the plant submerged—critical for its growth.
For soil-grown watercress, cut leaves at the base, leaving at least 1 inch of stem to encourage new shoots.
Seasonal timing also plays a role in harvest success. In spring and fall, watercress grows more slowly, so you’ll want to harvest every 2-3 weeks to avoid overcrowding. During summer’s peak growth, you can harvest every 10-14 days without stressing the plant.
Always avoid harvesting when leaves are wilted or yellowing, as this indicates stress or disease.
One common mistake is harvesting too much at once. Never take more than one-third of the plant in a single session, or you’ll stunt its ability to regrow. Instead, focus on selective harvesting: pick the largest, most mature leaves first.
This method ensures your watercress stays productive and flavorful for weeks longer than if you harvest aggressively.
After harvesting, rinse leaves thoroughly under cool water to remove dirt or debris, especially if grown in water. Pat them dry gently with a clean towel or use a salad spinner to prevent wilting.
Store harvested watercress in a sealed container with a damp paper towel to maintain freshness for up to 5-7 days in the fridge. For longer storage, consider blanching and freezing.
To maximize your harvest, pair proper timing with consistent care. Ensure your watercress has partial shade and moist soil (or shallow water), and fertilize lightly every 4-6 weeks with a balanced 5-5-5 NPK mix. With these practices, you’ll enjoy a bountiful, flavorful harvest all season long.
Remember, the key to watercress success lies in patience and precision. When you nail the 4-6 inch harvest window and follow these care tips, you’ll unlock the plant’s full potential—both in flavor and yield. Happy harvesting! 🌿
Step-by-step watercress harvesting techniques to avoid damaging plants
Harvesting watercress correctly ensures your plants keep producing vibrant, flavorful leaves for weeks. The key is to use the right tools and techniques to stimulate regrowth while avoiding stress. I’ve learned that even a slight misstep can turn your watercress into tough, bitter stems—so let’s get this right.
Start by gathering your supplies and working during the coolest part of the day to keep the leaves crisp.
Watercress thrives when you harvest it at the 4-6 inch stage, but timing isn’t the only factor. The way you cut the leaves determines whether your plant will bounce back or struggle. Over-harvesting or using dull tools can damage the crown, so I always prioritize precision.
Below, I’ll walk you through the exact steps I use to harvest watercress without harming the plant or sacrificing flavor.
How to Harvest Watercress Without Damaging Plants
-
Step 1: Choose the Right Tools
Use a pair of sharp pruning shears or a clean knife to avoid tearing leaves. Dull tools crush stems, making them more susceptible to disease. -
Step 2: Water the Plants First
Give your watercress a light watering 1-2 hours before harvesting. This plumps up the leaves and makes them easier to cut cleanly. -
Step 3: Trim from the Base
Cut leaves 1-2 inches above the soil line to encourage new growth. Avoid pulling or yanking—this can uproot young plants. -
Step 4: Leave Some Leaves Behind
Never harvest more than one-third of the plant at once. This ensures the roots stay energized for regrowth. -
Step 5: Rinse and Store Properly
Rinse leaves in cool, filtered water to remove dirt and pests. Store in a sealed container with a damp paper towel to keep them fresh for up to 5 days.
After harvesting, I always inspect the remaining plant for signs of stress. If the stems look woody or yellowed, it’s a sign you’ve over-harvested. To prevent this, I space out harvests by at least 2-3 weeks during peak growing season.
This gives the plant time to recover and produce more tender leaves.
One of my biggest mistakes early on was harvesting watercress in the midday heat. The leaves wilted within hours, and the flavor suffered. Now, I always harvest in the early morning when the leaves are hydrated and packed with flavor.
This simple habit makes a world of difference in taste and texture.
For continuous harvests, I’ve found that watercress grows best in shallow water or moist soil. After each harvest, I add a thin layer of compost to replenish nutrients and keep the soil rich.
This ensures my plants stay healthy and productive, giving me fresh watercress for months. With these techniques, you’ll enjoy a steady supply of vibrant, flavorful greens without damaging your plants.