
How To
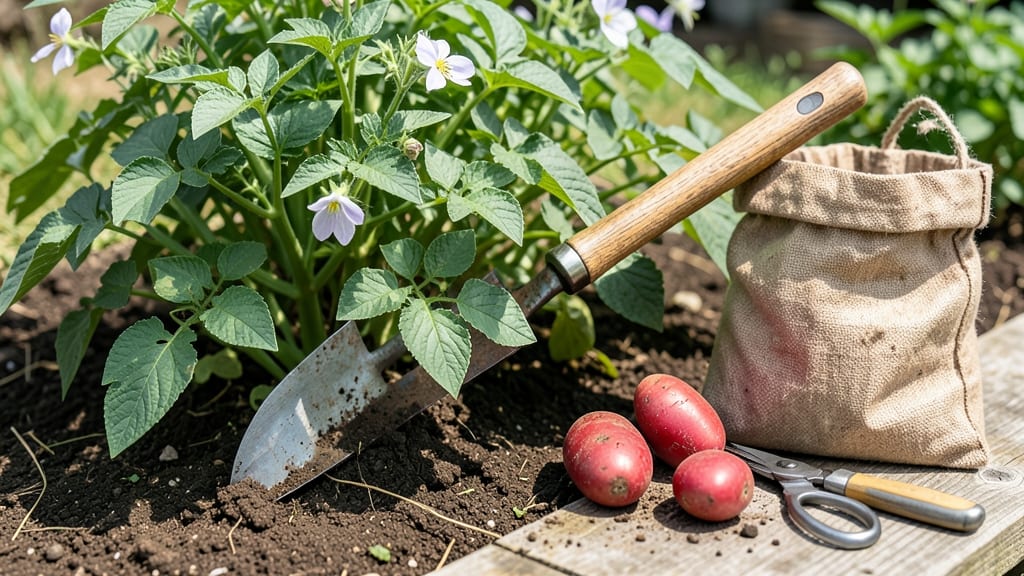
Harvesting red potatoes at the right time means digging up tubers that are firm, flavorful, and ready to store—not too early or too late.
Picture this: you’ve spent weeks tending to your 🥔 patch, and now the vines are yellowing while the soil feels dry. That’s your cue—but wait too long, and those perfect spuds turn shriveled or sprouted. Timing is everything, and missing the window can mean wasted effort.
Most red potatoes need 90 to 120 days to mature, but the real test is when the foliage dies back and the tubers feel solid when gently squeezed. In Zone 6a, that usually lands in mid-to-late summer, but weather and variety play a big role.
Below, I’ll walk you through the exact signs to watch for, how to harvest without bruising a single tuber, and what to do with your haul once it’s out of the ground—so you can enjoy homegrown potatoes all winter long.

When to harvest red potatoes: key signs vines are ready
Timing your red potato harvest perfectly ensures you pull up firm, flavorful tubers instead of small, underdeveloped spuds. Unlike other crops, potatoes don't give obvious external signals like fruit ripening—they rely on foliage changes and tuber development cues.
For early varieties (like 'Red Norland'), harvest windows open as early as 60-70 days, while late varieties (like 'Red Pontiac') may need up to 120 days. Missing these signs can mean wasted effort or spoiled potatoes.
First, focus on the plant's foliage—this is your primary indicator. Healthy green leaves mean the plant is still actively growing, but when you notice yellowing or browning at the edges, it's time to pay closer attention.
This senescence (natural dying process) signals the plant is redirecting energy to the tubers below. Early varieties often show this 3-4 weeks before late varieties, so adjust your expectations based on what you planted.
Next, check the tuber size and firmness. Gently dig around the base of the plant (just a few inches deep) to feel for golf-ball-sized tubers. If they're smaller than a marble, they're not ready yet.
Press your fingernail into the skin—if it doesn't puncture easily and the flesh feels dense, that's a good sign. Thin-skinned tubers are still growing and prone to damage.
Don't ignore the soil conditions either. Dry, cracking soil can stress the plant and stunt tuber growth, while overly wet soil may cause rot. Aim for consistently moist but well-draining soil throughout the growing season.
If your region experiences early frosts, harvest before temperatures drop below 40°F (4°C), as cold can turn starches to sugar, making potatoes sweet and mealy.
| Sign | Early Varieties (60-80 days) | Late Varieties (90-120 days) |
|---|---|---|
| Foliage Color | Yellowing starts at leaf edges | Full yellowing, wilting begins |
| Tuber Size | Golf ball to egg size | Baseball to tennis ball size |
| Skin Thickness | Firm, resists fingernail | Thick, tough skin |
| New Growth | No new shoots | Shoots brown and die back |
| Soil Condition | Moist but not soggy | Dries slightly between waterings |
For early varieties, you can start checking tubers as soon as foliage begins yellowing.
Use a hand fork to gently lift a few potatoes for a taste test—if they're firm and flavorful, harvest the rest. Late varieties require patience; wait until 70-80% of foliage has yellowed and died back.
If you're unsure, dig up one plant to inspect the tubers—this "test dig" prevents overharvesting or missing the window.
Regional differences matter too. In warmer climates (Zones 8-10), potatoes may mature faster due to longer growing seasons, while cooler zones (4-6) often need extra time. If your area has short growing seasons, opt for early-maturing varieties like 'Red Bliss' or 'Finnish Red'.
Always plant 4-6 weeks before your last frost date to align with your local harvest window.
One common mistake is waiting until the entire plant dies. By then, tubers may have sprouted or rotted in the soil. Instead, harvest when 50-70% of foliage has yellowed—this gives you a 2-3 week buffer before full senescence.
If you're growing new potatoes (small, tender tubers), harvest when they're 1-2 inches wide, even if foliage is still green.
Finally, consider your post-harvest plans. Potatoes meant for long-term storage should be cured in a dark, humid space (55-60°F) for 1-2 weeks to thicken their skins.
If you're using them immediately, harvest when tubers are firm and dry—brush off excess soil and store in a cool, dark place (like a basement) to prevent sprouting.
Mastering the red potato harvest time takes practice, but these visual and tactile cues will help you consistently dig up perfectly sized, flavorful tubers every season. Start testing your soil and foliage a week before your expected harvest date to stay ahead of the game.
How to harvest red potatoes without damaging tubers: step-by-step guide
Harvesting red potatoes at the right time ensures you get firm, high-quality tubers instead of shrunken or diseased ones. The key is patience and precision—digging too early or too late can ruin your harvest.
I’ve learned that gentle handling and the right tools make all the difference, especially in humid climates where tubers bruise easily.
Timing your harvest depends on your growing zone and potato variety. Most red potatoes take 90-120 days to mature, but early varieties like 'Red Norland' can be ready in as few as 70 days.
Watch for foliage yellowing and tuber firmness—these are your best indicators. Below, I’ll walk you through the exact steps to harvest without damaging a single tuber.
Step-by-Step Red Potato Harvest Guide
- Step 1: Choose a dry, sunny day to harvest. Avoid wet soil, which can bruise tubers during digging.
- Step 2: Use a garden fork or spade to loosen soil around the plant base. Insert the tool 12 inches away from the plant and gently pry.
- Step 3: Lift the plant gently by the stems, avoiding direct pressure on tubers. Shake off excess soil to check for damaged or small tubers.
- Step 4: Place harvested tubers in a well-ventilated basket or mesh bag to prevent moisture buildup, which causes rot.
- Step 5: Cure tubers for 5-10 days in a dark, humid space (like a garage or basement) at 50-60°F to toughen skins.
- Step 6: Store cured tubers in a cool, dark place with high humidity (like a root cellar) for long-term storage.
If you’re in a warmer climate (like USDA Zone 8+), you might need to harvest earlier to avoid heat stress on tubers. Early varieties are your best bet—plant them in late winter for a spring harvest.
For cool climates, wait until after the last frost and soil temps drop below 80°F to prevent sprouting.
Pro tip: Leave small tubers in the ground to grow larger if you’re not in a rush. These will become your next year’s seed potatoes. Just mark their location with stakes or flags so you don’t accidentally dig them up during the main harvest.
Always handle tubers with care—rough treatment leads to bruising and disease.
After curing, inspect your harvest for any soft spots or mold. Discard damaged tubers immediately to prevent spread to healthy ones. With the right timing and technique, you’ll enjoy perfect red potatoes all winter long—no soggy or shriveled spuds in sight! 🥔