
How To
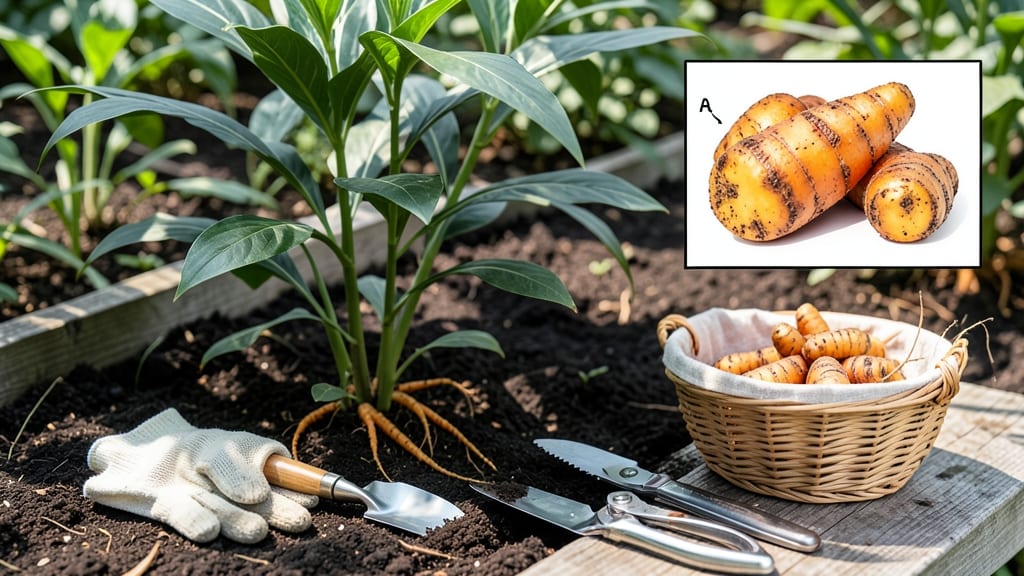
Harvest turmeric when the rhizomes are firm, orange, and the leaves begin to yellow—usually 9 to 11 months after planting in spring.
Picture this: you’ve waited patiently for your 🌿 turmeric to mature, only to dig up a pale, underdeveloped root or—worse—a bitter, fibrous mess. The secret to unlocking that bold, golden flavor lies in timing, and the root curling test is your best friend.
Most gardeners in Zone 6a should aim for late fall or early winter, when the top growth slows and the soil cools. But don’t rely on the calendar alone—check for firm, dry rhizomes and that signature bright hue before pulling them from the ground.
In this guide, I’ll walk you through the exact signs to watch for, how to avoid common harvesting mistakes, and the simple steps to dry and store your turmeric for maximum potency—so you never waste another harvest again.
How to use the root curling test for perfect turmeric harvest timing
Timing your turmeric harvest correctly ensures you get maximum potency and flavor. The root curling test is my go-to method to determine when your turmeric rhizomes are ready. Unlike other herbs, turmeric needs 9-11 months to mature fully, so patience pays off with vibrant, curcumin-rich roots.
Most gardeners miss the perfect harvest window by focusing only on leaf color or plant height. The root curling test combines leaf signals with rhizome development for precise timing. I’ve found that ignoring these visual cues often leads to underdeveloped roots or bitter, fibrous harvests—neither of which you want!
Here’s how to perform the root curling test step by step, plus key signs to watch for before digging up your turmeric plants.
If your turmeric plants pass all these tests, it’s time to harvest! I recommend doing this on a dry, sunny day to allow the rhizomes to dry properly afterward. Use a sharp spade to dig around the base, lifting the entire plant gently to avoid damaging the roots.
Harvesting too early results in small, greenish rhizomes with low curcumin levels. Waiting too long can lead to wooden, fibrous roots that lose their vibrant color. The root curling test balances these risks by combining visual leaf cues with rhizome maturity.
Pro tip: Mark your turmeric planting date and use a garden journal to track growth. Most varieties reach harvest readiness between 330-365 days after planting, but tropical climates may speed this up by 1-2 months.
Adjust your timeline based on your local last frost date and growing season length.
Once you’ve harvested, don’t wash the rhizomes immediately—let them cure for 2-3 days in a dry, shaded area. This step enhances flavor and potency, making your homegrown turmeric even more valuable for cooking or medicinal use. 🌿
Turmeric harvesting mistakes that ruin potency (and how to avoid them)
Harvesting your turmeric at the wrong time can turn a golden, flavorful root into a weak, bitter disappointment. Many gardeners accidentally ruin their harvest by ignoring key signs or cutting roots too soon. The difference between a high-curcumin root and a lackluster one often comes down to timing and technique.
One of the most common mistakes is harvesting when the rhizomes are still green and soft. This happens when gardeners focus only on leaf color instead of root maturity.
Even if the leaves are turning yellow, the roots might not be ready yet. Another frequent error is cutting the rhizomes improperly, which can damage their potency and storage life.
⚠️ callout-warning ⚠️
Turmeric should be harvested 9-11 months after planting, typically in late fall or winter (October-November). The root curling test is key: gently dig up a small rhizome—if it's firm, dry, and bright orange-yellow, it's ready. If it's still green or soft, wait 2-4 more weeks. Harvesting too early reduces curcumin content by up to 50%.
✅ Do: Wait until 70% of leaves yellow and rhizomes feel hard when pressed.
❌ Avoid: Harvesting when soil is waterlogged or before first frost.
Another mistake is ignoring soil conditions before harvest. If your turmeric is growing in poorly draining soil, the rhizomes may develop fungal issues or rot before they mature. Always ensure your soil is well-draining and slightly acidic (pH 6.0-7.5) for optimal root development.
Overwatering in the final weeks can also dilute the curcumin concentration, making your harvest less potent.
Many gardeners also make the error of cutting rhizomes too aggressively during harvest. Instead of yanking the entire plant, use a sharp knife or spade to carefully separate the rhizomes from the soil.
Leave at least 1-inch stumps to avoid shocking the plant and reducing next year’s yield. If you’re harvesting multiple rhizomes, space out the cuts to minimize stress on the plant.
Finally, don’t overlook the importance of post-harvest drying. If you harvest at the perfect time but dry the rhizomes incorrectly, you’ll lose potency. Rinse the roots thoroughly, then dry them in a well-ventilated, shaded area for 10-14 days.
Avoid direct sunlight, which can bleach the color and reduce flavor. Proper drying preserves curcumin levels and extends shelf life.
By avoiding these common mistakes—harvesting too early, cutting roots improperly, or neglecting soil conditions—you’ll ensure your turmeric is vibrant, potent, and full of flavor. Pay attention to the root curling test, soil health, and drying techniques, and you’ll reap the rewards of a perfect harvest every time. 🌱