
Vegetables
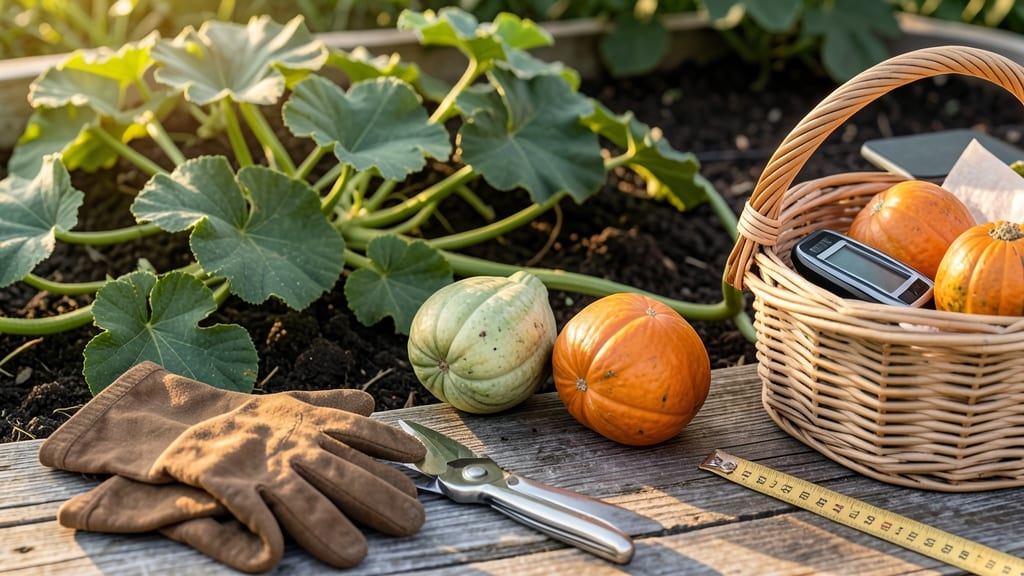
Harvesting acorn squash at the right time 🎃 means the difference between sweet, tender flesh and tough, flavorless disappointment.
Picking too early means wasting a garden’s effort, while waiting too long risks frost damage or bitter squash. I’ve learned the hard way—once, I harvested too soon and ended up with squash that was all skin and no substance.
The key is knowing when the rind hardens, the stem dries, and the color deepens just right.
In most regions, including USDA Zone 6a, acorn squash typically reaches harvest time between October and November, about 80–100 days after planting. But timing varies by climate, and missing the window can mean losing your crop entirely.
Below, I’ll walk you through the three tactile tests that guarantee you pick your squash at peak perfection.
You’ll also discover how to adjust for early or late planting, what to do immediately after harvest to extend storage life, and the one common mistake that ruins squash faster than frost ever could. Let’s get started.
3 Tactile tests to determine acorn squash harvest time
Harvesting your acorn squash at the perfect moment ensures sweet, tender flesh and maximum flavor. Unlike some squash varieties, acorn squash doesn't ripen further after picking, so timing is critical.
The good news? You don't need fancy tools—just your hands and eyes to perform these three simple tactile tests that reveal ripeness through touch, sight, and sound.
Many gardeners make the mistake of waiting too long, resulting in overly mature squash with tough skin and bland taste. Others harvest too early, leaving the flesh underdeveloped. The key lies in these physical indicators that science shows correlate with peak ripeness.
By mastering these tests, you'll know exactly when to pick your squash for that perfect balance of sweetness and texture.
Why tactile tests matter: Unlike color charts (which can vary by variety), these hands-on methods give you consistent results regardless of growing conditions. The skin hardness test, stem separation check, and thump test work together to confirm ripeness before you make your final cut.
The skin hardness test is your first line of defense against underripe squash. Use your fingernail to press firmly against the skin—if it leaves a dent, your squash needs more time.
At peak ripeness, the skin should feel hard enough to resist your fingernail pressure. This hardness indicates the starches have fully converted to sugars, giving you that signature sweet flavor.
Next, perform the stem separation check, which reveals the squash's natural detachment process. When ready, the stem should pull away cleanly from the vine with just a gentle twist. If the stem resists or tears, wait a few more days.
This test works because the stem dries out as the squash matures, creating a natural separation point that prevents rot during storage.
The thump test might sound silly, but it's one of the most reliable methods gardeners use. Tap your knuckles against the squash's side—if you hear a hollow echo, it's not ready.
A properly ripe acorn squash produces a solid, dull thud, similar to tapping a ripe melon. This sound indicates the seeds have fully developed and the flesh has reached optimal density.
Avoid these common mistakes: Harvesting based solely on size (some varieties stay small but mature fully), ignoring vine condition (yellowing vines signal ripeness), or using color alone (some squash develop color before reaching full ripeness). Always combine these tactile tests for 100% accuracy. Remember, acorn squash won't ripen further after harvest, so err on the side of waiting a few extra days rather than picking too early.
Pro tip: Perform these tests in the morning after dew has dried when skins are at their firmest. Also, check for uniform color—any green streaks or uneven patches mean your squash needs more time on the vine.
Once all three tests confirm ripeness, use a sharp knife or pruners to cut the stem, leaving about 1-2 inches attached for storage.
After harvesting, let your squash cure in warm, dry conditions for 7-10 days to develop full flavor and extend storage life. This curing process hardens the skin further and concentrates sugars.
Store cured squash in a cool, dark place (50-55°F) where it can keep for 2-3 months—far longer than fresh-harvested squash.
Mastering these tactile tests transforms your harvest from a guessing game to a precision gardening skill. Each test builds on the last, giving you multiple confirmation points before making your final cut.
The more you practice, the more intuitive these checks become—soon you'll know when your acorn squash is ready just by looking at it!
Acorn squash harvest timeline: when to pick by growing season
Timing your acorn squash harvest is everything—miss the window, and you’ll end up with tough, flavorless squash. The ideal harvest period depends on your climate zone and frost dates.
In most regions, acorn squash matures between 90-100 days after planting, but cooler climates may need adjustments to avoid early frost.
For gardeners in USDA Zones 3-5, harvest typically begins in late September and continues through October. Those in Zones 6-8 can extend harvests into November, while Zone 9+ growers may even see a second harvest window in winter months.
The key is to watch for visual and tactile cues rather than relying solely on dates.
Here’s a quick reference for month-by-month harvest windows based on your climate:
| Climate Zone | Harvest Window | Frost Risk | Adjustment for Late Planting |
|---|---|---|---|
| Zones 3-5 (Cool) | Late September - Early October | High (harvest before first frost) | Use row covers or plant in containers for flexibility |
| Zones 6-8 (Temperate) | October - Mid-November | Moderate (watch for early frosts) | Extend season with black plastic mulch |
| Zones 9-11 (Warm) | November - January | Low (rare frosts) | Plant in fall for winter harvests |
If you planted your acorn squash late in the season, don’t panic—just monitor the squash’s maturity closely. For every 2 weeks delayed, expect a 10-15 day extension in harvest time.
For example, if you planted in mid-June instead of May, aim to harvest by late October instead of early November.
In frost-prone areas, prioritize harvesting before the first frost date. Acorn squash can tolerate light frosts but will develop soft spots and bitter flavors if left too long. If frost is imminent, harvest immediately and cure indoors for 3-5 days to harden the skin.
Pro tip: Mark your calendar 90 days after planting and check squash weekly for readiness. The harder the rind and the drier the stem, the sweeter and more flavorful your harvest will be. 🎃