
How To
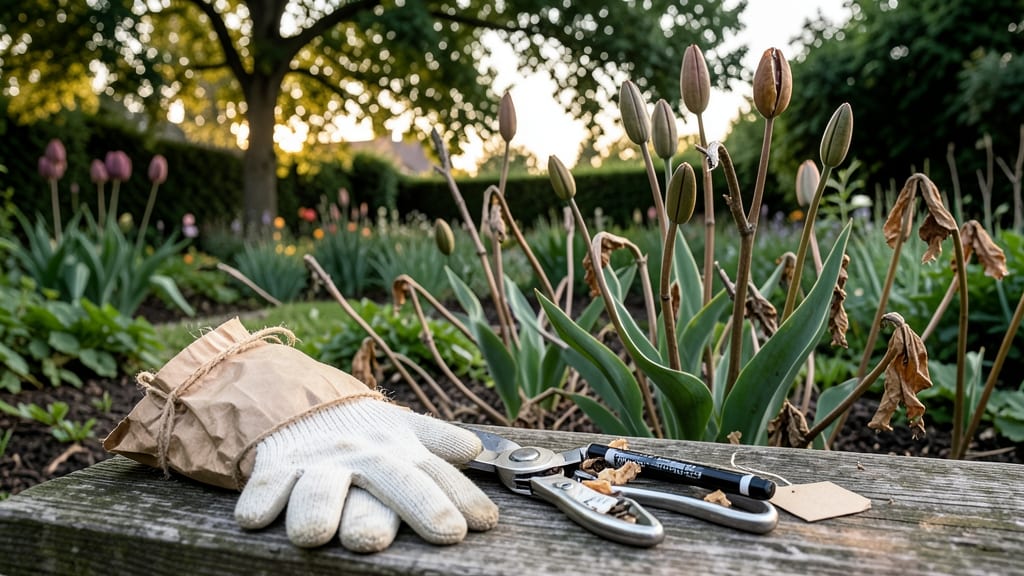
Harvesting tulip seeds is how you turn this year’s blooms into next season’s garden treasures—if you know the right steps to follow.
Did you know that harvesting tulip seeds can save you money and expand your garden’s beauty for years to come? But timing and technique are everything—miss the window, and those seed pods will shatter, leaving you with nothing but empty dreams (and a messy garden).
Most gardeners assume you can just grab any seed pod, but the truth is far more precise. You’ll need to watch for the papery brown pods that rattle when shaken, then collect them before they burst open. One wrong move, and your seeds scatter like confetti in the wind.
In this guide, I’ll walk you through every step, from spotting the perfect pods to drying and storing them for the best possible germination. No more guesswork—just reliable, foolproof results for your future tulip patch.
When and how to spot tulip seed pods for perfect harvest timing
Harvesting tulip seeds is like catching a fleeting moment in your garden—one wrong move, and those precious pods vanish into the wind or get snatched by birds.
The key is knowing exactly when those seed pods mature, from the moment your tulip blooms fade to when the pods turn brown and crisp. I’ve learned that timing is everything, especially since tulip seed pods only stay ripe for a short window before they shatter.
First, watch your tulip flowers closely. After they bloom and begin to wilt—usually 4-6 weeks post-flowering—small green seed pods will form in their place.
These pods start as pea-sized and grow over time, but they won’t be ready for harvest until they turn a deep brown color and feel dry to the touch. Missing this stage means you’ll either harvest seeds too early (soft and useless) or too late (scattered everywhere).
| Stage | Visual Clues | Action | Seasonal Timing |
|---|---|---|---|
| Flower Wilting | Petals droop, stem softens | Leave pods on plant | Late spring |
| Green Pod Formation | Pods swell, turn green | Monitor daily | Early summer |
| Brown & Dry Pods | Pods turn papery brown, seeds rattle | Harvest immediately | Late summer (USDA 6a: August-Sept) |
| Pod Shattering | Pods split open, seeds scatter | Too late—collect fallen seeds | Early fall |
Your climate zone plays a huge role in harvest timing. In USDA Zone 6a (like where I garden), seed pods typically mature between late August and early September.
But if you live in a warmer zone (like Zone 8-10), pods may ripen as early as July, while colder zones (Zone 4-5) might see harvests in September or October. Always adjust your schedule based on when your local tulips finish blooming.
To avoid losing seeds to birds or wind, I recommend covering mature pods with fine mesh bags or paper bags once they turn brown. This keeps them protected while still allowing airflow for drying.
If you’re unsure whether a pod is ready, give it the "shake test": hold it gently and listen for seeds rattling inside. If they do, it’s harvest time!
One common mistake I see is harvesting pods that are still green or only partially brown. These seeds won’t germinate well, and you’ll waste time and effort. Always wait until the entire pod is dry and brown—no exceptions.
Pro tip: Cut the stem just above the pod to avoid damaging the plant, and label your harvest with the tulip variety if you’re saving seeds from hybrids.
After harvesting, store your seeds in a cool, dry place (like a paper envelope in the fridge) until you’re ready to plant them. Tulip seeds need cold stratification to germinate, so I often plant them outdoors in fall or stratify them in the fridge for 8-12 weeks before sowing.
Patience is key—tulip seeds can take 12-18 months to bloom after planting!
If you’re growing tulips in containers, keep an eye on pods more closely since wind can scatter seeds faster. I’ve found that placing pots on a tray lined with mesh helps contain any fallen seeds.
And if you’re dealing with heavy bird activity, consider netting your entire tulip patch until harvest time.
Remember, every tulip seed you save is a potential new plant for your garden. With the right timing and care, you’ll have a self-sustaining tulip collection in no time—just imagine the colorful displays you’ll create from your own seeds!
The secret is staying vigilant and ready to act the moment those pods turn brown.
Step-by-step guide to harvesting and drying tulip seeds for maximum germination
Harvesting tulip seeds is like unlocking a secret garden treasure chest—if you know when and how to open it. Once your tulip flowers have bloomed and wilted, they’ll develop seed pods that hold the potential for next year’s blooms.
But rushing the process can leave you with empty pods or poor-quality seeds. The key is patience and precision.
Timing is everything: harvest too early, and the seeds won’t be viable; wait too long, and the pods will burst open, scattering seeds everywhere. Ideally, you’ll collect them when the pods turn brown and papery, but before they split naturally.
This usually happens in late summer to early fall, depending on your climate.
- 1 Wait for the seed pods to form after flowers wilt. Look for pods that are brown and dry but haven’t split open yet.
- 2 Gently twist and pull the mature pods from the stem. Avoid damaging them—this ensures seeds stay intact inside.
- 3 Place pods in paper bags (not plastic) to allow airflow. Hang them upside down in a dry, shaded area for 2-3 weeks to fully dry.
- 4 Shake or crack open the dried pods to release seeds. Remove any debris or empty husks by sifting through a fine mesh screen.
- 5 Store seeds in an airtight container with a desiccant packet to prevent moisture buildup. Label with the harvest date for tracking.
- 6 Test viability by placing a few seeds between damp paper towels. If they sprout within 2-4 weeks, your seeds are ready for planting.
Once your seeds are dried and stored, you’ll need to wait 18-24 months before they germinate—tulips are notorious for their long dormancy period. Plant them in well-draining soil in fall, just like bulbs, and be patient.
The wait is worth it when you see those first tulip sprouts pushing through the soil next spring.
Pro tip: Label your seed containers with the tulip variety and harvest year. This helps track which seeds are best for your garden’s conditions. Over time, you’ll build a diverse collection of heirloom tulips tailored to your climate and aesthetic preferences.
Remember, not all tulips produce viable seeds—hybrid varieties often don’t. Stick to species tulips like Tulipa gesneriana or Tulipa fosteriana for the best results. With practice, you’ll master the art of harvesting and growing tulips from seed, creating a legacy of blooms for generations.