
Vegetables
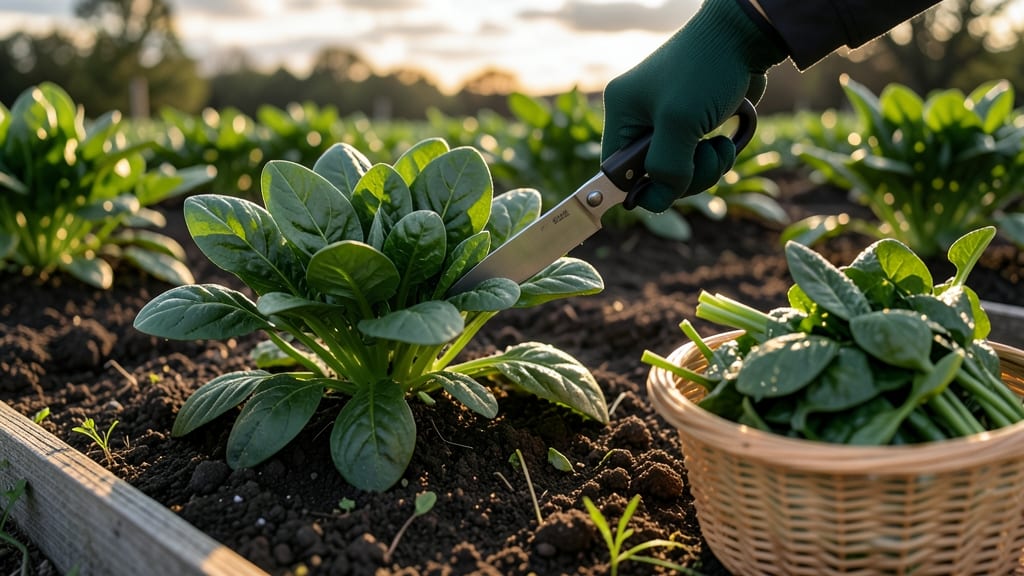
Harvesting spinach the best way means cutting leaves just right to keep your 🥬 plants thriving—and your kitchen stocked for weeks.
Want a spinach harvest that never stops? Mastering the cut-and-come-again technique transforms your garden into a year-round green machine—without sacrificing plant health or flavor.
Most gardeners make one critical mistake: pulling entire plants or overharvesting the center leaves, which stunts regrowth. Instead, focus on the outer leaves, leaving the inner ones to keep growing.
Below, I’ll walk you through the exact timing, cutting method, and post-harvest care to maximize your yield—plus how to spot when your spinach is begging for a trim.
How to use the cut-and-come-again method for maximum spinach yield
The cut-and-come-again method is my secret weapon for a never-ending spinach supply. Instead of pulling the whole plant, you snip just the outer leaves, leaving the inner growth to regenerate. This technique keeps your spinach producing for weeks longer than traditional harvesting—ideal for both spring and fall gardens.
Spinach thrives on this method because it’s a fast regrower when given proper care. The key is patience and precision: harvest at the right time, use the correct cutting technique, and maintain consistent moisture.
With these steps, you’ll enjoy bushier plants and a steady stream of tender leaves without sacrificing flavor.
Here’s how I do it—step by step—to maximize your harvest while keeping your spinach healthy and happy.
Step-by-Step Cut-and-Come-Again Harvesting
- Step 1: Wait for maturity Harvest when outer leaves reach 4-6 inches long and are dark green. Inner leaves should still be tender—this ensures regrowth.
- Step 2: Choose the right leaves Select the largest, oldest outer leaves first. Avoid cutting into the center growth point—this is where new leaves emerge.
- Step 3: Use clean, sharp shears Snip leaves 1-2 inches above the base at a 45-degree angle. This prevents water from pooling and reduces disease risk.
- Step 4: Leave 3-4 inner leaves Never remove more than ⅓ of the plant at once. Keeping the growth center intact ensures rapid regrowth.
- Step 5: Water deeply after harvesting Spinach needs consistent moisture to recover. Water at the base of the plant in the morning to avoid fungal issues.
- Step 6: Fertilize lightly 1-2 weeks later Use a high-nitrogen fertilizer (like 10-20-10) to encourage leafy regrowth. Apply in the early morning for best absorption.
- Step 7: Repeat every 2-3 weeks With proper care, your spinach can produce 3-4 harvests per season. Monitor for bolting (flowering)—if it starts, harvest immediately and compost the plant.
Timing is everything with spinach. I always harvest in the morning after dew dries to avoid soggy leaves. This also ensures the plant has the rest of the day to recover.
If you’re growing in hot climates, opt for shade-tolerant varieties like Tyee or Bloomsdale Long Standing—they handle heat better and regrow faster.
One common mistake I see is over-harvesting too early. If you cut too close to the center or remove too many leaves at once, the plant struggles to recover. Always leave those 3-4 inner leaves untouched—they’re the powerhouse for regrowth. Patience pays off with bigger, bushier plants over time.
After harvesting, I mulch around the base with straw or compost to retain moisture and suppress weeds. This keeps the soil cool and protects the roots during hot afternoons. For container-grown spinach, I use a lightweight mulch like shredded leaves to avoid compacting the soil.
If your spinach starts to bolt (send up flower stalks), it’s a sign it’s done producing for the season. In this case, harvest all remaining leaves immediately and compost the plant.
Bolted spinach loses its tender flavor and becomes bitter, but you can still use it in cooked dishes like soups or stir-fries.
For year-round production, I plant successive crops every 2-3 weeks in spring and late summer. This staggered approach ensures a steady supply of fresh spinach from early spring until late fall.
In USDA Zone 7b and warmer, you can even grow spinach over winter with a light frost cloth for protection.
With the cut-and-come-again method, your spinach garden becomes a self-sustaining green machine. Not only do you save money, but you also enjoy the satisfaction of harvesting fresh, homegrown greens straight from your backyard. Happy harvesting!
Spinach harvesting mistakes that kill your plants (and how to avoid them)
Even the most patient gardeners can accidentally sabotage their spinach harvest with a few simple mistakes. Over-harvesting is the #1 culprit—when you take too many leaves at once, your plant struggles to recover, leading to stunted growth or even death.
I’ve seen this happen when gardeners get excited and harvest entire plants instead of just the outer leaves. Another common error is poor timing, like harvesting during heatwaves or drought, which stresses the plant and triggers bolting (flowering). Let’s fix these mistakes before they ruin your harvest!
Timing your harvest is everything. Spinach thrives when you pick leaves before they bolt—that’s when the plant shifts energy from leaf production to seed-making. Mature leaves (4-6 inches long) are ideal, but if you wait too long, the plant becomes bitter and woody.
I once left my spinach too long in 80°F heat, and within a week, it bolted! The moral? Harvest frequently but never more than 1/3 of the plant at a time to keep it productive.
⚠️ callout-warning ⚠️
🚨 Deadly Mistake: Wrong Leaf Selection
Never harvest the innermost leaves—they’re the plant’s growth engine! Instead, always snip the outer leaves first, leaving the center intact. This ensures the plant keeps producing new growth. Wrong leaves = stunted regrowth.
💡 Pro Tip: Use clean, sharp scissors to avoid tearing leaves, which invites disease.
Another silent killer is harvesting at the wrong time of day. If you pick spinach in the midday heat, the leaves wilt faster and lose nutrients. I always harvest in the early morning when leaves are crisp and hydrated.
This also gives the plant time to recover before the afternoon heat sets in. Morning harvests mean fresher greens and happier plants!
Don’t forget about post-harvest care. After cutting, give your spinach a light feeding with compost tea or a nitrogen-rich fertilizer to encourage regrowth. I use a balanced 10-10-10 mix every 4-6 weeks during active growth.
Skipping this step leaves your plant weak and slow to bounce back. Feed the roots, and they’ll reward you with bushier, more productive foliage.
Finally, watch for disease signs after harvesting. Wet leaves left on the plant can lead to fungal issues like downy mildew. Always harvest dry leaves and avoid working in the garden when foliage is wet.
I’ve saved many spinach plants by removing infected leaves immediately and spacing plants for good airflow. Prevention is key—don’t let problems fester!
By avoiding these mistakes, your spinach will keep producing tender, flavorful leaves for weeks. The secret? Patience, precision, and proper care after every harvest. Now go enjoy that endless spinach supply—your garden (and taste buds) will thank you! 🥬