
How To
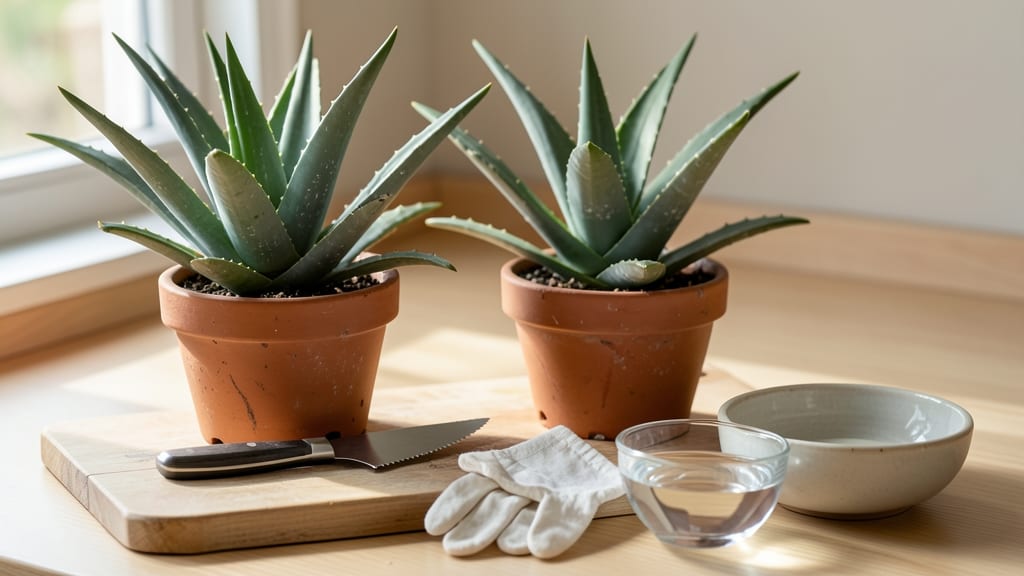
To harvest aloe plant leaves safely and maximize gel yield, start by waiting until they reach 8-12 inches and show brownish tips 🌱 — these are your clearest signs of maturity.
Struggling to extract fresh, high-quality aloe vera gel without damaging your plant? Harvesting aloe leaves properly is the secret to maximizing yield while keeping your plant thriving for years.
Most gardeners make the mistake of cutting too early or using dull tools, which stresses the plant and reduces future harvests. I’ve learned the hard way that patience and the right technique make all the difference.
In this guide, you’ll discover the exact steps to harvest aloe leaves—from selecting the right leaf to post-harvest care—so you can enjoy plump, gel-rich leaves every time without harming your plant.
Step-by-step guide to safely harvesting aloe vera leaves
Harvesting aloe vera leaves is a rewarding process, but doing it incorrectly can harm your plant or reduce the quality of the gel. The key lies in selecting the right leaves, using the proper tools, and following precise cutting techniques to ensure both a healthy plant and maximum gel yield.
Whether you're harvesting for skincare, soothing burns, or medicinal uses, these steps will help you get the most out of your aloe plant while keeping it thriving for future harvests.
Before you begin, make sure your aloe plant is mature enough—typically 12-18 months old—with at least 5-6 mature leaves. Look for leaves that are 8-12 inches long and have a brownish-yellow tip, indicating they're ready for harvest.
Avoid cutting leaves that are still green or soft, as they won’t yield as much gel and may stress the plant unnecessarily.
How to Harvest Aloe Plant: Step-by-Step
-
Step 1: Choose the Right Leaf
Select a thick, mature leaf with a brown tip and 8+ inches long. Avoid the center leaves, as they’re essential for the plant’s growth.
-
Step 2: Gather Your Tools
Use a sharp knife or pruning shears (sterilized with rubbing alcohol) and wear gloves to protect your hands from the plant’s sap.
-
Step 3: Wash the Leaf
Rinse the leaf under cool water to remove dirt and debris. Pat dry with a clean towel to prepare for cutting.
-
Step 4: Cut at the Base
Hold the leaf firmly and cut it cleanly at the base, close to the plant’s stem. A 45-degree angle helps prevent water from pooling and causing rot.
-
Step 5: Extract the Gel
Lay the leaf on its side and slice off the spiky edges. Use a spoon to scoop out the clear gel from the center, avoiding the yellow latex, which can irritate skin.
-
Step 6: Store the Gel
Store the gel in an airtight container in the fridge for up to 7-10 days or freeze it for longer storage. For skincare, mix it with aloe vera juice or vitamin E oil.
After harvesting, let the plant rest for 4-6 weeks before harvesting again. This gives your aloe time to recover and produce new leaves. During this period, reduce watering to every 3-4 weeks and place the plant in bright, indirect light to encourage regrowth.
Over-harvesting can weaken the plant, so always leave at least 3-4 healthy leaves on the stem.
One common mistake is cutting leaves too close to the center of the plant, which can stunt growth. Always target the outermost leaves first, as they’re the most mature. Another tip is to avoid harvesting in winter, when the plant is dormant.
Instead, focus on spring or early summer when growth is most active and the gel yield is highest.
If you’re new to harvesting aloe, start with just 1-2 leaves to test the process. This way, you can refine your technique without risking the health of your entire plant.
Once you’re comfortable, you can gradually increase the number of leaves you harvest, ensuring your aloe plant stays healthy and productive for years to come.
Properly harvested aloe vera gel is a powerhouse for skincare, thanks to its anti-inflammatory and hydrating properties. Whether you’re using it for sunburn relief, acne treatment, or as a natural moisturizer, harvesting correctly ensures you get the purest, most effective gel every time.
With these steps, you’ll not only maximize your yield but also keep your aloe plant happy and thriving.
🌱
Best practices for aloe plant recovery after harvesting
After harvesting your aloe vera leaves, your plant needs special care to bounce back strong. The first 4-6 weeks are critical for recovery, where proper watering techniques and light exposure determine whether your aloe thrives or struggles.
I’ve learned that skipping this step often leads to yellowing leaves or even root rot—so let’s fix that!
Start by reducing watering immediately after harvest. Your aloe plant stores water in its leaves, so it doesn’t need frequent hydration. I water mine every 3-4 weeks during recovery, using the soak-and-dry method to prevent soggy soil.
Overwatering is the #1 mistake that causes brown leaf tips or mushy stems, so resist the urge to hydrate too soon!
Place your aloe in bright, indirect light for the first 2 weeks post-harvest. Direct sunlight can stress the plant when it’s already recovering. If indoors, a south-facing window is ideal, but avoid harsh afternoon rays. Outdoors, partial shade works best until new growth appears.
⚠️ Callout-Tip: Post-Harvest Recovery Checklist
Step 1: Wait 3-4 days before watering again—let the cut heal.
Step 2: Use well-draining soil (cactus mix works great) to prevent rot.
Step 3: Monitor for new growth at the base—this means recovery is working!
Step 4: Avoid fertilizing for 6-8 weeks; the plant needs to focus on roots.
Step 5: If leaves yellow, reduce water immediately—this is a sign of overwatering.
After 2 weeks, gradually reintroduce fertilizer if your aloe isn’t flowering. I use a balanced succulent fertilizer (2-7-2 NPK ratio) at half-strength every 8 weeks during spring and summer. Too much nitrogen causes weak, floppy growth, so dilute it well! Skip fertilizing in fall and winter when growth slows.
Watch for new leaf growth at the plant’s center—this is your sign that recovery is successful. If your aloe produces pups (baby plants), let them stay attached for 3-4 months to strengthen roots before separating.
I’ve found that pups often outperform mother plants in gel production, so don’t rush to divide them!
By following these steps, your aloe will recover faster and produce more gel-rich leaves in just a few months. The key is patience: give your plant time to heal, and it’ll reward you with vibrant, healthy growth for years to come. Happy aloe care! 🌱