
How To
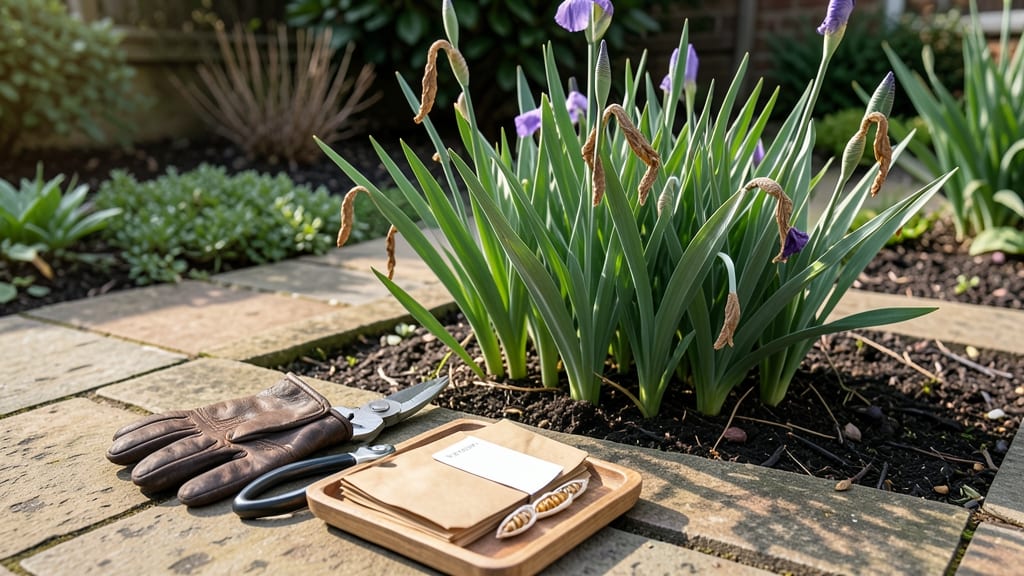
Harvesting iris seeds after your 🌸 irises bloom is the secret to growing new plants with the same stunning colors and hardiness—but timing and technique make all the difference.
Watching your iris blooms fade into seed pods is a gardener’s reward—but knowing exactly when and how to harvest those seeds ensures you’ll grow stronger, more vibrant irises next season.
Miss the window, and you risk losing your hard-earned genetic treasures to the elements. The key is spotting those brown, dry pods before they split open, then handling them with care to preserve viability.
In this guide, I’ll walk you through the step-by-step process, from identifying the perfect moment to collect seeds to storing them for planting—so you can turn this year’s blooms into next year’s garden showstoppers.
When to harvest iris seeds: identifying the perfect ripeness stage
Harvesting iris seeds at the right moment is like catching a fleeting summer breeze—timing makes all the difference between thriving new plants and wasted effort.
After your bearded irises or Siberian irises bloom in late spring, the seed pods form, but rushing to harvest too soon or waiting too long can ruin your chances. The key lies in watching for three critical cues: pod color, texture, and seed firmness.
For bearded iris varieties, the window typically opens in late May to early June, while Siberian irises may mature slightly earlier, around mid-May. These timelines can shift based on your USDA zone—cooler climates may push harvest dates back by 2-3 weeks.
Paying attention to your local frost dates also helps, as premature cold snaps can halt seed maturation.
Here’s the golden rule: Harvest when seed pods turn uniformly brown and feel dry and papery to the touch, but before they split open.
Overripe pods release seeds prematurely, while underripe ones yield soft, non-viable seeds. Think of it like baking a cake—too soon, it’s raw; too late, it’s burnt.
Different iris types have subtle variations in pod maturity. Bearded irises often develop larger, thicker pods that take longer to dry, while Siberian irises produce smaller, more delicate pods that mature faster. Japanese irises and Louisiana irises also follow similar cues but may require closer monitoring due to their unique growth habits.
| Iris Type | Harvest Time | Pod Color | Pod Texture | Seed Viability |
|---|---|---|---|---|
| Bearded Iris | Late May - Early June | Uniform brown | Dry, papery, brittle | Dark, firm seeds |
| Siberian Iris | Mid-May - Late May | Light brown | Crispy, slightly thinner | Dark, glossy seeds |
| Japanese Iris | Early June - Mid-June | Deep brown | Leathery, then brittle | Dark brown, plump |
| Louisiana Iris | Late May - Early June | Tan-brown | Dry, fibrous | Dark, slightly wrinkled |
To test readiness, gently squeeze a pod—if it crinkles like a dry leaf and the seeds inside look dark and firm, it’s time to harvest. If the pod feels moist or pliable, wait 3-5 more days.
Pro tip: Harvest on a dry, sunny morning to ensure pods are fully dry, reducing the risk of mold during storage.
Seasonal variations play a role too. In warmer climates (Zones 8-10), pods may mature faster, while cooler zones (3-6) could delay harvest by up to 3 weeks. Always observe your local weather patterns—unexpected rain can rehydrate pods, tricking you into thinking they’re ready when they’re not.
One common mistake is harvesting seeds too late, when pods split open naturally. Once seeds scatter, they lose viability quickly.
If you miss the window, don’t despair—simply mark the plants for next year and adjust your timing. Labeling pods with the harvest date can help track maturity across different iris varieties in your garden.
For hybrid irises, like those bred for showy blooms, seed viability can be unpredictable. While they may produce pods, the resulting seedlings might not inherit the parent plant’s traits. If your goal is to preserve specific characteristics, consider dividing rhizomes instead of relying on seeds for consistency.
Once you’ve identified the perfect pods, act quickly but gently. Use clean, sharp scissors to snip the stem just above the pod, leaving a small portion attached to protect the seeds.
Avoid tearing pods, as this can damage the seeds inside. Store them in a paper bag in a cool, dry place for 2-3 weeks to complete drying before cleaning and storing.
Mastering the art of iris seed harvesting turns your garden into a self-sustaining treasure trove of new plants. With practice, you’ll develop an almost instinctive sense for the perfect moment—when the pods whisper, “Pick me now!” 🌾
Step-by-step iris seed harvesting process: from pod to viable seed
Once you’ve identified your iris seed pods as fully mature, the next step is careful harvesting to preserve seed viability. Timing is critical—harvest too early, and seeds won’t germinate; wait too long, and they’ll scatter or spoil.
I’ve learned the hard way that patience and precision are key to ensuring a successful iris seed harvest.
The right tools make all the difference. You’ll need a pair of sharp pruning shears, a small paper bag for each pod, and a damp paper towel for later seed inspection.
Avoid using your hands to open pods, as their delicate membranes can crush easily. Let’s walk through the process step by step to ensure you collect the highest-quality seeds possible.
Gently Snip the Seed Pods
Use sterilized pruning shears to cut the seed pods from the iris stalk. Make a clean cut about 1 inch below the pod to avoid damaging the plant. Place each pod immediately into a labeled paper bag to prevent seed loss or contamination.
Allow Pods to Dry Indoors
Spread the pods on a clean, dry surface in a well-ventilated area for 3–5 days. Avoid direct sunlight, which can overheat and crack the pods. This step ensures the pods fully dry, making seeds easier to extract without damage.
Open Pods with Care
Once dry, gently squeeze the pod between your fingers until it splits open. Avoid tearing—this can damage the iris seeds inside. If the pod resists, place it in a paper bag and store it for another day to dry further.
Extract and Inspect Seeds
Empty the seeds onto a white paper towel to inspect for viability. Discard any seeds that are shriveled, discolored, or hollow. Viable seeds should be dark brown and firm to the touch. Keep only the healthiest specimens for storage.
Store Seeds Properly
Place viable seeds in a paper envelope or small glass jar with a silica gel packet to absorb moisture. Label the container with the iris variety and harvest date. Store in a cool, dark place (like a fridge) for up to 2 years.
After harvesting, I always test a few seeds by placing them in a moist paper towel for 2 weeks to check germination rates. This helps me gauge whether my storage methods worked.
If most seeds sprout, I know I’ve done it right—ready to plant them in well-draining soil with full sun for next season’s blooms.
Remember, iris seeds are slow to germinate, often taking 6–12 months to sprout. Patience is key, but the reward of watching your own homegrown irises emerge is unmatched. Happy harvesting!