
How To
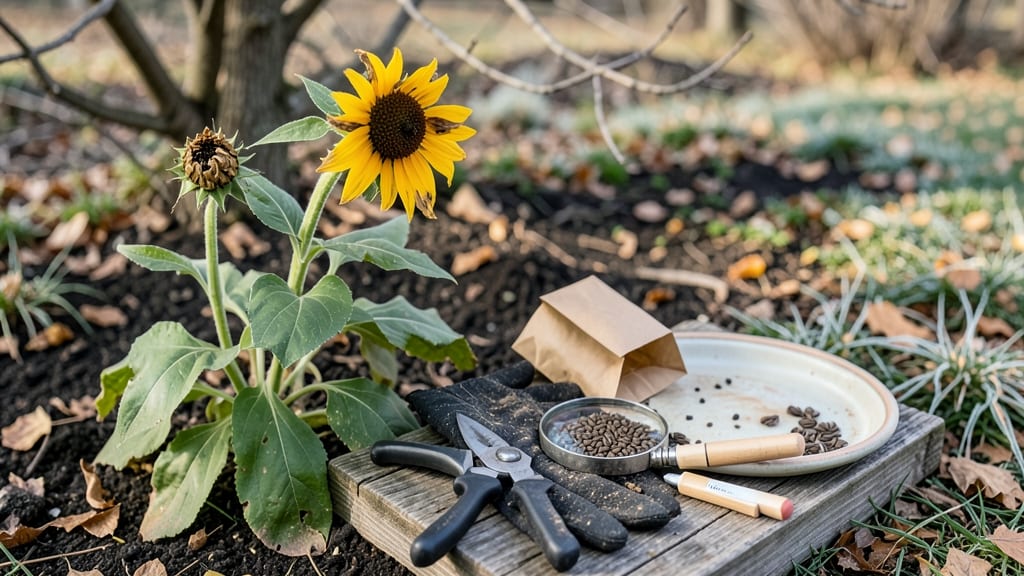
Harvesting rudbeckia seeds at the right time means saving viable seeds for next year’s garden—no more scrambling for store-bought plants when your favorites bloom again.
Picture this: your 🌼 rudbeckia plants have finished their vibrant summer show, and those once-cheerful blooms are now dry, papery seed heads. That’s your cue to act before the seeds scatter—or worse, mold in the damp soil.
Timing is everything, and a few simple tricks will turn those heads into a seed-saving goldmine.
You’ll need just a handful of tools—a pair of pruners, a brown paper bag, and maybe some gloves if you’re harvesting in bulk. The real skill? Knowing when the seed heads are fully dry but not yet cracked open.
Too early, and the seeds won’t germinate; too late, and they’ll blow away or spoil. I’ve made both mistakes, and trust me, you don’t want to repeat them.
In this guide, I’ll walk you through the exact steps to harvest rudbeckia seeds without losing a single one, from spotting the perfect seed head to storing them for maximum germination. No guesswork—just reliable, foolproof methods for gardeners who want to grow their own next season.
When and how to identify mature rudbeckia seed heads for harvesting
Harvesting rudbeckia seeds at the perfect moment ensures high germination rates and healthy new plants. The key is watching for visual maturity cues that signal seeds are ready for collection.
Miss this window, and you risk seeds scattering or losing viability. Let’s break down exactly what to look for in those dried seed heads.
First, focus on the color transformation of the flower heads. When rudbeckia blooms fade from their vibrant yellow or orange, they transition to a brown, papery texture. This change indicates the plant is shifting its energy from blooming to seed production.
The center disks will turn a deep brown, while the outer petals may wither away completely.
Next, give the seed heads a gentle shake. Mature rudbeckia seeds produce a distinct rattling sound when shaken because the seeds inside are dry and loose.
This is your first sign that the seeds are ready for harvesting. If you don’t hear this sound, the seeds likely need more time to mature.
Another critical clue is the texture of the seed head. When fully mature, the seed heads should feel crispy and brittle, almost like dried paper. Run your fingers over the head—if it crumbles easily, it’s time to harvest.
Conversely, if the head still feels slightly leathery or moist, wait a few more days.
🌼
🌱 Rudbeckia Seed Maturity Checklist
| Stage | Visual Cue | Action |
|---|---|---|
| Early Bloom | Bright yellow/orange petals | Monitor for color fade |
| Late Bloom | Petals wilt, center turns green | Wait for brown transition |
| Seed Maturity | Brown, papery, rattles when shaken | Harvest immediately |
| Overripe | Seed heads split open, seeds scatter | Collect remaining seeds |
Timing is everything when harvesting rudbeckia seeds. Aim to collect them in late summer to early fall, typically between September and October, depending on your climate. In warmer regions, this might happen as early as August, while cooler areas may need to wait until late October.
The goal is to harvest before the seed heads split open naturally and scatter seeds across your garden.
To test seed viability, perform a simple float test. Fill a glass with water and drop a handful of seeds inside. After 15 minutes, viable seeds will sink to the bottom, while non-viable ones will float.
Discard the floating seeds—they won’t germinate. This test helps you gauge the quality of your harvest before storing seeds for next year.
One common mistake is harvesting seeds too early. If you collect them when the heads are still slightly green or moist, the seeds won’t store well and may not germinate. Conversely, waiting too long risks losing seeds to birds, wind, or natural splitting.
Strike the balance by harvesting when 90-95% of the seed heads show the mature brown color and texture.
Pro tip: Use a paper bag to collect seeds directly from the plant. This prevents seeds from scattering while you work and makes cleanup easier. Once harvested, let the seeds dry indoors for an additional 3-5 days in a cool, dry place before storing them in airtight containers.
🌬️
Step-by-step method to crack rudbeckia seed pods without losing seeds
Once your rudbeckia seed heads have fully dried and turned a rich brown color, it’s time to extract the seeds. The key is patience and gentle handling to avoid losing those precious viable seeds to wind or accidental drops.
I’ve perfected a method that minimizes seed loss while keeping the process simple and efficient.
Start by gathering your harvesting tools: a pair of clean pruning shears, a paper bag (brown grocery bags work perfectly), and a pair of gardening gloves to protect your hands. These tools help you work efficiently while keeping seeds contained and your hands clean.
Cut the seed heads
Use your pruning shears to snip the dried seed heads from the stem. Cut about 1-2 inches below the head to avoid damaging the plant. Place each head directly into your paper bag to contain any seeds that may fall.
Dry the heads further
If the seed heads aren’t completely dry, spread them out on a clean, dry surface (like a tray or table) indoors for 2-3 days. This ensures the seeds are fully mature and ready for cracking. Avoid direct sunlight, which can overheat the seeds.
Crack the seed pods
Place the dried seed head in your paper bag and gently crush it with your hands or a rolling pin. The goal is to break open the brittle seed pods while keeping the seeds inside the bag. Shake the bag lightly to release any seeds that cling to the pod fragments.
Separate seeds from debris
Empty the contents of the bag onto a clean sheet of paper or a seed tray. Use a fine-mesh sieve or your fingers to separate the seeds from chaff. Discard any moldy or discolored seeds, as they won’t germinate well.
Store seeds properly
Transfer the clean seeds into a paper envelope or airtight container labeled with the harvest date and rudbeckia variety. Store in a cool, dark place (like a pantry) for up to 2 years for best germination rates.
If you notice mold or pests in your seed heads, don’t panic. Simply discard any affected heads immediately and focus on the healthy ones. To prevent future issues, ensure your rudbeckia plants are in a well-ventilated area and avoid harvesting seeds from plants that show signs of disease.
With this method, you’ll maximize your seed yield while ensuring the highest chance of germination success for next season. Happy harvesting! 🌼