
How To
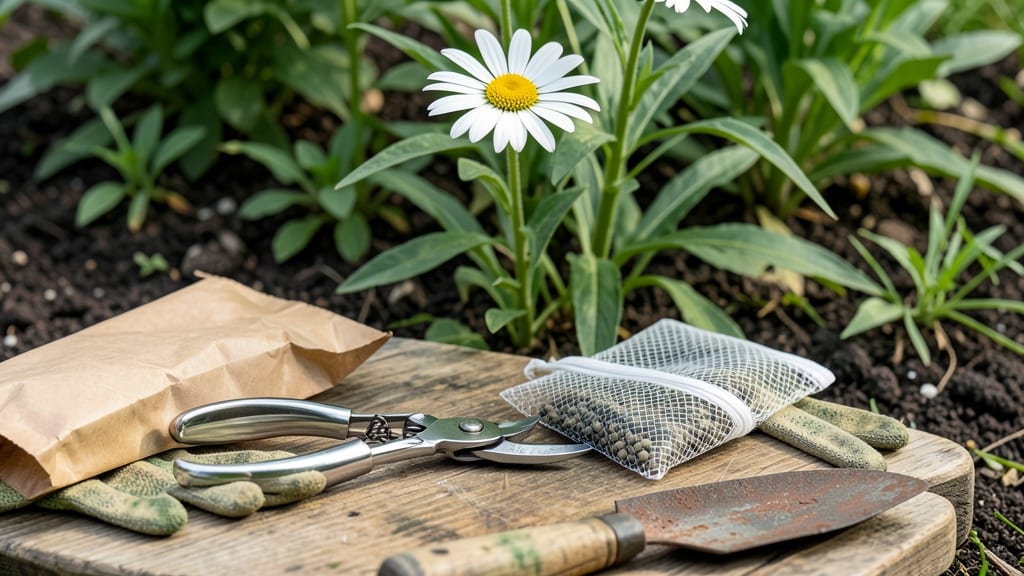
To harvest Shasta daisy seeds 🌼, wait until the flower heads turn completely brown and dry—usually in late summer or early fall—before collecting them for replanting or sharing.
If you’ve ever watched those cheerful blooms fade and wondered what comes next, you’re in for a pleasant surprise: those dried centers hold the key to next year’s garden. But timing is everything—harvest too soon, and the seeds won’t be viable; wait too long, and they’ll scatter on their own.
Knowing exactly when the seed heads are ready (and how to tell the difference between mature and underripe) saves you from wasted effort. Below, I’ll walk you through the step-by-step process, from identifying the perfect moment to storing seeds properly for maximum germination.
Whether you’re saving seeds to replant or sharing with fellow gardeners, this guide ensures you’ll have a steady supply of these classic perennial beauties year after year.
When to harvest Shasta daisy seeds: identifying the perfect maturity stage
Knowing exactly when to harvest Shasta daisy seeds is crucial for ensuring viable seeds that will grow into healthy plants. These cheerful flowers follow a predictable cycle where the flower heads transform from vibrant blooms to seed-bearing structures.
The key is watching for specific visual cues that signal maturity, typically appearing in late summer to early fall (August-September in most USDA zones).
Timing your harvest correctly prevents seeds from scattering prematurely or losing viability. Overripe seeds may shatter and lose germination potential, while harvesting too early means the seeds won't be fully developed.
The perfect moment arrives when the flower petals have completely fallen and the center turns a uniform brown color, indicating the seeds inside have reached maturity.
Visual cues are your best guide. Look for dry, papery seed heads that feel light when touched and may even begin to split open naturally. These signs confirm the seeds are ready for collection. The process becomes easier once you recognize these maturity indicators, which I'll break down in detail below to help you never miss the ideal harvest window.
| Stage | Visual Cues | Action | Timeframe |
|---|---|---|---|
| Blooming | Bright white petals fully open | Observe plant | Spring-Summer |
| Petal Fall | Petals drop, center turns green-brown | Monitor for color change | Late Summer |
| Seed Maturity | Brown center, papery texture, rattles | Harvest immediately | August-September |
| Overripe | Seed heads split open, seeds scatter | Too late for viable seeds | Late Fall |
The ideal harvest window for Shasta daisy seeds occurs when the flower heads have completely dried and turned brown, typically 6-8 weeks after blooming. This usually aligns with late summer to early fall in most growing zones.
The center disk (where seeds form) should be fully brown and crispy to the touch, while the outer petals will have naturally fallen away.
One of my favorite maturity tests is the "rattle test." Gently shake a dried flower head over a brown paper bag - if seeds rattle loudly inside and begin falling out, that's your signal to harvest.
This simple test helps avoid collecting seeds that are still too moist or underdeveloped. The earlier you harvest, the better your seed viability will be.
Environmental factors like humidity and temperature can affect seed drying times. In hot, dry climates, flower heads may dry faster, while cool, humid conditions can delay maturity. I've found that morning harvests work best because the flower heads are fully dry from overnight air circulation.
Always check multiple flower heads on your plant to ensure consistent maturity.
If you're unsure whether a flower head is ready, cut it and examine the seeds. Fully mature seeds will be plump and dark-colored, while immature seeds remain light green or white. The seed coat should be hard and dry - if it crumbles easily, the seeds need more time.
Remember that patience pays off with Shasta daisies, as rushing the harvest can result in poor germination rates.
For gardeners in warmer climates, seed maturity may occur earlier (as early as July), while those in cooler regions might need to wait until October. Pay attention to your local frost dates - you'll want to harvest before the first frost, as cold temperatures can damage the seed heads.
In my experience, early September is the sweet spot for most US growing zones.
Once you've identified mature seed heads, the next step is proper collection. Use clean, sharp pruning shears to cut the entire flower head, leaving about 1-2 inches of stem attached. This stem helps support the seed head during drying.
Place the harvested heads in a paper bag (not plastic) to allow airflow while preventing seeds from scattering. This simple preparation step makes the drying process much more efficient.
Proper timing ensures you capture seeds at their peak viability, ready for future planting or sharing with fellow gardeners. The knowledge you gain from mastering this harvest window will pay dividends in your garden for years to come.
With these maturity indicators in mind, you'll never miss the perfect moment to collect Shasta daisy seeds again! 🌼
Step-by-step process for collecting and storing Shasta daisy seeds
Once you’ve identified your Shasta daisy seed heads are fully mature, the next step is proper collection and storage to preserve their germination viability. Timing and technique are everything—harvest too soon, and your seeds won’t sprout; wait too long, and they may scatter or lose quality.
I’ve perfected this process over years of seed-saving, and I’m excited to share my foolproof method with you.
Gather your tools: a pair of clean, sharp pruners, a brown paper bag (for initial drying), and a labeled envelope or jar for long-term storage. Work on a dry, sunny day to minimize moisture exposure.
The goal is to collect seeds when they’re dry but before they begin to disperse naturally—this usually happens in late summer to early fall, depending on your climate.
-
Step 1: Cut the seed heads
Use sterilized pruners to snip the dried flower heads just above the foliage. Avoid cutting into green stems, which can introduce moisture and mold. Place heads in a paper bag to prevent seed loss.
-
Step 2: Dry the seed heads
Hang the bag upside down in a well-ventilated, dry location for 1-2 weeks. This allows seeds to fully dry and loosens them from the flower head. Avoid direct sunlight, which can overheat and damage seeds.
-
Step 3: Extract the seeds
Once completely dry, gently rub the flower heads between your fingers or use a fine mesh sieve to separate seeds from chaff. Discard any debris or damaged seeds to ensure high-quality storage.
-
Step 4: Store the seeds
Place seeds in a labeled envelope or airtight container with a silica gel packet to absorb moisture. Store in a cool, dark place (like a fridge) where they’ll remain viable for 2-3 years.
Label your storage container with the variety name and harvest date—this saves headaches later when you’re ready to replant. For example, I always jot down notes like “‘Becky’ Shasta Daisy – Harvested Sept 2024” to track germination rates over time.
Pro tip: Test a few seeds after 6 months to check viability before committing to a full planting.
If you’re planning to share seeds with fellow gardeners, consider packaging them in small, resealable bags with care instructions. Include a note about Shasta daisies’ preference for full sun and well-draining soil to set them up for success.
This small gesture can spark new gardening friendships and spread your favorite varieties!
Remember, the key to successful seed storage is dryness and darkness. Even a slight increase in humidity can trigger mold or reduce germination rates. By following these steps, you’ll ensure your Shasta daisy seeds stay fresh and ready for next year’s garden adventures.