
Pests and Diseases
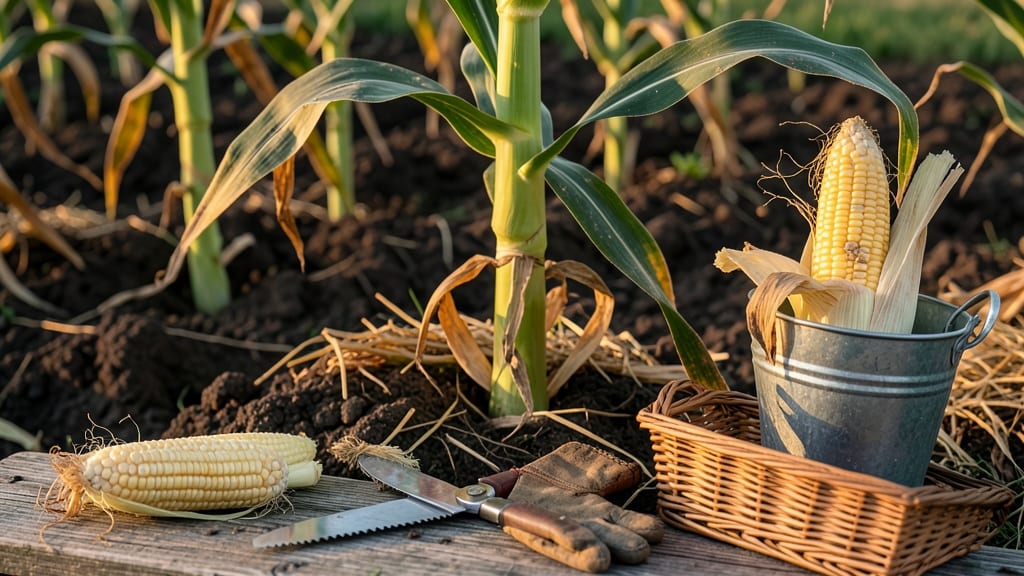
Harvest time for corn arrives when silks turn brown and kernels reach their milky stage—this is the sweet spot for tender, flavorful ears straight from your garden.
Picture this: you’ve nurtured your 🌽 corn all season, and now the silks are drying out while the kernels plump up. But how do you know if it’s truly the moment to pull them?
Miss the window, and you’ll end up with tough, starchy kernels instead of the juicy goodness you’re after.
Timing matters because corn ripens fast—sometimes just a few days can make the difference between perfect and past its prime. The key is watching for those telltale signs: silks that have turned crispy brown and kernels that ooze milky liquid when pierced.
In this guide, I’ll walk you through the exact visual cues to spot, how to test kernel readiness, and even how to adjust for different corn varieties. By the end, you’ll never second-guess when to harvest again.

How to identify perfect corn harvest time by silk color and kernel stage
Harvesting corn at the right moment transforms your garden into a treasure trove of sweet, juicy kernels. But timing is everything—wait too long, and those tender kernels turn tough and starchy. The key lies in two simple visual cues: the silk color and the kernel stage.
Let’s break down what to watch for to ensure you pick your corn at peak perfection.
First, focus on the silks—those long, thread-like strands emerging from the top of the ear. When they first appear, they’re bright green and moist, signaling early pollination. As the corn matures, the silks gradually dry out and turn brown.
This color change is your first clue that harvest time is near, but it’s not the only sign you should trust.
The kernel stage is where things get even more exciting. At the perfect harvest moment, kernels should feel plump and firm to the touch. If you gently pierce one with your fingernail, a milky liquid should ooze out—this is called the "milk stage," and it’s prime for sweet corn varieties.
If the liquid is clear or the kernels feel hard, you’ve missed the window.
For starchy corn varieties (like those used for flour or canning), you’ll wait until the kernels form a slight dent in the center. This happens after the milk stage and signals the start of the dough stage, where kernels are firm and dry.
Timing matters because sweet corn loses its sugar content quickly after reaching the milk stage, while starchy corn stays usable longer.
| Stage | Silk Color | Kernel Condition | Harvest Time | Best For |
|---|---|---|---|---|
| Early Pollination | Bright Green | Small, Hard Kernels | Not Ready | None |
| Milk Stage | Brown & Drying | Plump, Milky Liquid | Perfect for Sweet Corn | Sweet Varieties |
| Dough Stage | Fully Brown/Dry | Firm, Dent Forms | Ideal for Starchy Corn | Flour/Canning |
| Overripe | Crumbly, Dry | Hard, Starchy Kernels | Too Late | None |
Don’t overlook the ear’s weight—a fully ripe ear feels surprisingly heavy for its size. This is because the kernels are packed with moisture and nutrients. If you pick an ear that feels light or hollow when shaken, it’s likely underripe.
Pro tip: Harvest in the morning when temperatures are cooler. This preserves the corn’s sweetness and crispness longer after picking.
Regional climate plays a role too. In warmer zones (USDA 8-10), corn may mature faster, while cooler areas (USDA 4-6) might need an extra week or two. Always check your seed packet for days to maturity—this gives you a baseline.
For example, a variety labeled "70 days" should be ready around 90 days in cooler climates due to slower growth.
If you’re growing multiple corn varieties, pay attention to their maturity dates. Sweet corn like 'Silver Queen' or 'Peaches and Cream' should be harvested at the milk stage, while field corn (like 'Pioneer Brand') can wait until the dough stage.
Mixing up varieties? Label your plants or keep a harvest journal to track which ears are ready when.
One common mistake is relying only on silk color. While brown silks are a good indicator, they can dry out quickly in hot weather, even if the kernels aren’t ready.
Always double-check with the kernel test. Pierce a kernel—if it’s milky, it’s time to harvest; if it’s clear or hard, wait another day or two.
Finally, remember that uneven ripening is normal, especially in large patches. Start harvesting the earliest ears first, then move to later ones as they mature. This staggered approach ensures you enjoy fresh corn for weeks, not just days.
With these visual cues and a little patience, you’ll master the art of harvesting corn at its peak—every time.
Best practices for harvesting corn at peak ripeness (and how to store it)
Harvesting corn at the perfect moment transforms your garden into a treasure trove of sweet, juicy kernels. The key lies in timing—picking too early means underdeveloped ears, while waiting too long turns kernels tough and starchy.
I’ve learned that morning harvests (right after dew dries) yield the freshest ears, as cooler temps preserve sweetness. But how do you know when those silks are truly ready? Let’s break it down.
First, check the silk color. When they turn brown and crispy (not just greenish-brown), that’s your first sign. Next, test kernel readiness by piercing one with your fingernail. If it releases a milky liquid, it’s prime time!
For sweet corn varieties, harvest within 1-2 days of this stage. Starchy varieties like dent corn can wait a few days longer—just watch for kernels starting to dent.
- 🌽 Step 1: Check Silk Color – Silks should be dry and brown, not greenish.
- 🤏 Step 2: Test Kernel Firmness – Gently squeeze an ear; it should feel heavy and plump.
- 💧 Step 3: Pierce a Kernel – Use your fingernail; milky liquid means it’s ready.
- ✂️ Step 4: Harvest in Morning – Cut ears 1-2 inches below the ear base for freshness.
- 🌡️ Step 5: Store Properly – Keep in cool (50-60°F) and humid (95% humidity) conditions.
Proper harvesting technique matters just as much as timing. Use a sharp knife or pruners to cut ears cleanly, leaving a 1-inch stub on the stalk. Avoid pulling—this can damage the plant and future ears.
For large patches, harvest every 2-3 days to stagger ripening. If you’re unsure, pick a few test ears and taste-test the kernels. Sweetness fades fast once corn leaves the plant!
Storage is where many gardeners trip up. Freshly harvested corn stays crisp for 3-5 days in the fridge, but for long-term storage, freezing is your best bet. First, hull and blanch ears in boiling water for 4-5 minutes, then shock in ice water.
Drain and freeze in airtight bags for up to 9 months. For dried corn (like for meal), let ears dry completely in the sun before husking and storing in a cool, dry place for weeks.
One trick I swear by? Harvest a few extra ears and freeze them—this way, you always have backup for recipes or unexpected guests. Just label your freezer bags with the harvest date to track freshness.
And if you’re growing multiple varieties, harvest each type separately since sweetness peaks at different times. With these steps, you’ll go from garden to table with corn that’s sweeter and fresher than store-bought.
Don’t let overripe corn ruin your harvest—watch for denting kernels or shriveled husks, which signal it’s past its prime. When in doubt, harvest early and enjoy the sweetest flavor possible! 🌽