
How To
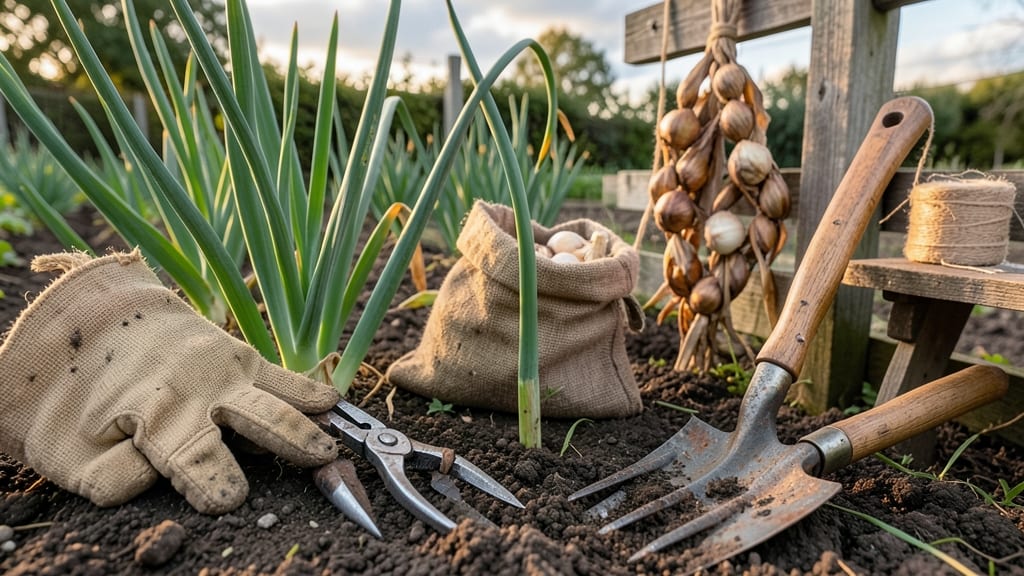
Harvesting garlic at the right time means the difference between perfect, flavorful bulbs and tough, pungent cloves you’ll regret.
If you’ve ever pulled garlic too early and ended up with small, underdeveloped cloves—or left it too long and watched the bulbs split—I’ve been there. The key is catching it when the lower leaves turn brown and papery, but before the tops yellow completely.
That narrow window is why so many gardeners miss the mark, especially when climate zones throw off timing.
In USDA Zone 6a, where most of us grow garlic, the ideal harvest window falls in late spring to early summer—usually June to July.
But if you’re in a warmer zone, like 8 or 9, you might harvest as early as May, while colder zones could stretch it to August. The trick is watching the plant, not the calendar.
Below, I’ll break down the visual cues you need to spot, how to adjust for your zone, and the biggest mistakes that ruin garlic—so you can finally harvest perfect bulbs every time.

How to identify the perfect harvest time for garlic by visual clues
Harvesting garlic at the right moment transforms your crop from ordinary to extraordinary—think bold flavor and plump cloves instead of shriveled, pungent remnants. The key lies in reading your garlic’s visual cues, which signal when the bulbs have reached peak maturity.
Unlike many vegetables, garlic doesn’t ripen after picking, so timing is everything. I’ve learned the hard way that harvesting too early means tiny bulbs, while waiting too long risks splitting or moldy cloves.
Start by focusing on the bottom leaves, which are the first to show signs of readiness. When about half to two-thirds of these leaves turn brown and papery, your garlic is nearing harvest. This change happens naturally as the plant redirects energy from leaf growth to bulb development.
In my Zone 6a garden, I’ve noticed this shift typically occurs in late May to early June, but your local climate may vary.
Here’s how to spot the perfect harvest time using clear visual signals:
Check the lowest leaves—they should be dry and crispy, not just yellow. This indicates the bulb is fully developed below ground.
Gently lift a few plants to check bulb diameter. A 1-inch-wide bulb is ready, but 2-inch bulbs are ideal for storage and flavor.
The top leaves should start to yellow and flatten, but don’t wait until they’re completely dry—this means the bulb may have split.
Harvest on a dry, sunny day when soil is slightly moist. Wet soil can damage bulbs, while dry soil makes them easier to dig.
If the entire plant turns yellow or the stems fall over, you’ve waited too long. Over-mature garlic often splits or develops mold.
One of my biggest mistakes was ignoring the bulb size and harvesting based solely on leaf color. Last year, I pulled garlic when the bottom leaves were brown, only to find tiny, underdeveloped cloves.
Since then, I’ve made it a rule to dig up a test plant to check bulb size before committing to a full harvest. This simple step saved my crop—and my patience!
Don’t overlook the paper skins around the cloves, which should be visible through the soil. These protective layers form as the bulb matures, ensuring freshness during storage. If you see them clearly, your garlic is ready.
In my experience, hardneck varieties like ‘Music’ or ‘German Red’ often show these skins earlier than softneck varieties like ‘Silverskin’ or ‘Artichoke.’
Regional differences play a huge role in harvest timing. In warmer climates (Zones 8-10), garlic may mature faster, while cooler zones (3-6) require more time. For example, in Zone 5, I harvest in mid-June, but a friend in Zone 9 harvests as early as April.
Always adjust for your local frost dates and growing season length.
Pro tip: Use a small garden fork to gently loosen the soil around the plants before pulling. This reduces bulb damage and makes the harvest cleaner. After digging, brush off excess dirt and let the garlic cure in the sun for 3-5 days to harden the skins.
I cure mine on a wire rack in my garage, which keeps them out of direct sunlight while allowing airflow.
If you’re unsure whether your garlic is ready, remember this rule: “Brown bottoms, not yellow tops.” Harvest when the bottom leaves are brown but the top leaves are still mostly green. This balance ensures you get the best of both worlds—mature bulbs with intact flavor.
With practice, you’ll develop an eye for the perfect moment, and your garlic harvests will thank you.
Harvest timing by USDA climate zones: when to dig for each region
Garlic thrives across USDA zones 3-10, but your harvest timing shifts dramatically from cold northern climates to warm southern regions. In zones 3-5, garlic planted in fall (October-November) typically matures by late June to early July.
Meanwhile, gardeners in zones 7-10 often plant in winter (December-February) and harvest between May and June—just as summer heat arrives. These differences reflect how frost dates and daylength trigger garlic’s natural dormancy cycle.
Southern gardeners face unique challenges: hardneck varieties struggle in zones 8-10 due to mild winters, while softneck types like Silverskin adapt better. In zone 6 and colder, hardneck garlic (e.g., Rocambole, Purple Stripe) dominates because it needs cold vernalization to form bulbs.
Meanwhile, zone 9-10 gardeners often grow artichoke garlic or elephant garlic, which tolerate warmer winters and harvest earlier in spring.
Northern gardeners (zones 3-5) must act fast after the last spring frost—typically by May 15th—to avoid bolting. I’ve found that hardneck varieties in these zones benefit from a light mulch (straw or leaves) to insulate bulbs during winter.
In contrast, zone 9-10 gardeners can plant garlic year-round, but avoid summer heat, which causes bolting (flowering) and bitter cloves.
For zone 6-7, split planting works best: sow half in fall (October) for a June harvest and half in spring (February) for a July-August harvest. This extends your garlic supply and reduces risk from late frosts.
I’ve successfully used this method in zone 7a, where unpredictable springs make single-season planting risky.
Regardless of zone, never harvest when soil is wet—this invites rot. In zones 8-10, I dig garlic on dry, sunny afternoons after the top leaves yellow but before they turn brown.
Cure bulbs in a shady, dry spot (60°F, low humidity) for 2-3 weeks to develop papery skins that preserve flavor.
Pro tip: Mark your planting and harvest dates each year to refine your schedule. Over time, you’ll notice how microclimates (e.g., frost pockets, urban heat islands) shift your ideal harvest window by 1-2 weeks. Adjust accordingly—perfect timing is your ticket to jumbo, flavorful bulbs! 🌱