
How To
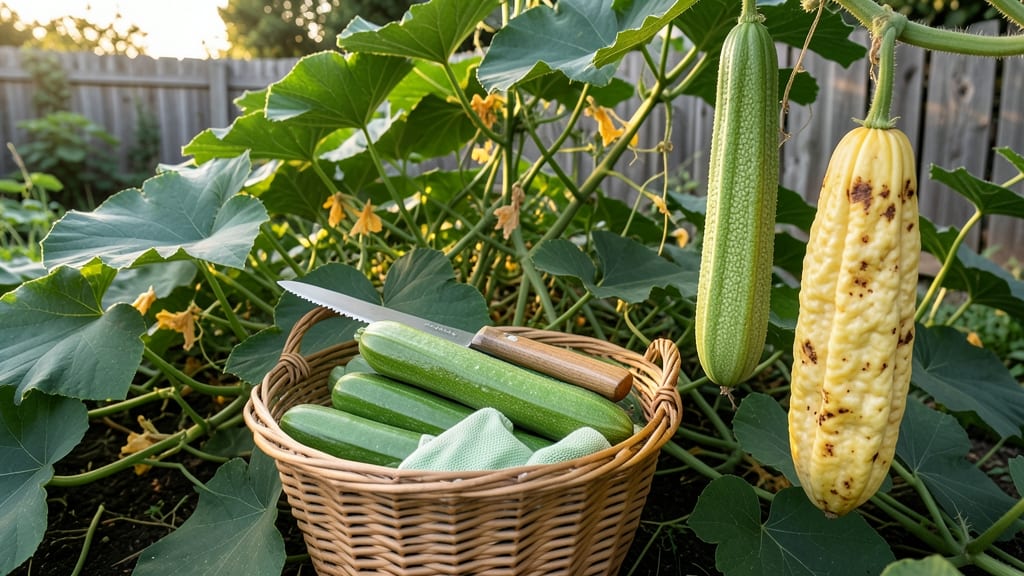
Harvesting a luffa gourd 🎋 for sponges at the right time transforms it from a garden curiosity into a natural, scrubbing powerhouse—just when the skin turns yellow and the rattle inside tells you it’s ready.
Picture this: you’ve waited months for your luffa gourd to mature, only to cut it open too soon and find mushy fibers instead of a sturdy sponge. Or worse, you leave it on the vine too long, and the first frost turns it brittle.
The difference between a useless gourd and a premium sponge comes down to timing—and the clues are right there in the color, texture, and sound.
In Zone 6a, where late summer brings heat and early fall signals frost, the window to harvest for sponges narrows fast. You’ll want to act before October 15, when temperatures drop and the gourds lose their chance to dry properly on the vine.
But don’t rush—waiting for the skin to harden and the stem to shrink is the key to a sponge that lasts.
Below, I’ll walk you through the exact cues to watch for, how to test a luffa gourd for readiness, and the 3-step drying process that turns your harvest into a long-lasting, eco-friendly scrubber. No guesswork, just results.
How to identify the perfect luffa gourd harvest stage for sponges
Harvesting luffa gourds at the right stage transforms them into durable natural sponges. The key is waiting until the gourds develop rough, dry skin and a hollow rattle when tapped.
Unlike edible luffas, which need harvesting when young and tender, sponge luffas must mature fully. I’ve learned this through trial and error—overripe gourds crumble, while underripe ones never develop proper fibers.
Start monitoring your luffa gourds around 90–120 days after planting, when the vines begin producing yellowing fruits. This is when the skin texture changes from smooth to rough, signaling the perfect harvest window.
The color shift from green to yellow or tan is your first visual cue, but don’t rely on it alone—always combine it with tactile tests.
Here’s the critical comparison-table breaking down the key differences between unripe, ripe, and overripe luffa gourds for sponge-making:
The hollow rattle test is my favorite trick—simply tap a gourd with your knuckles. A ripe luffa for sponges will sound hollow and rattling, like shaking a dried-out seed pod.
If it thuds like a watermelon, it’s not ready yet. This test works even if the gourd isn’t fully yellow, so always combine it with the skin texture check.
Pay attention to the stem condition too. When the luffa is ready, the stem will shrink and dry, often detaching naturally from the vine. If the stem is still green and plump, the gourd needs more time.
I’ve found that morning harvests work best because the gourds are cooler and easier to handle.
Climate plays a role too. In hot, dry regions, luffas mature faster and may need harvesting earlier. Conversely, in cool or humid climates, they take longer to dry on the vine.
If frost threatens before your gourds are ready, harvest them anyway—they’ll still dry indoors, though the fibers may be slightly less robust.
Once you’ve confirmed all three signs—yellow color, rough skin, and hollow rattle—use a sharp knife or pruning shears to cut the gourds from the vine.
Leave a short stem attached to prevent rot during drying. I like to label each gourd with the harvest date to track drying progress.
After harvesting, place the gourds in a well-ventilated, shady spot for 2–4 weeks to fully dry. Turn them occasionally to ensure even drying. The goal is to let the fibers harden while preventing mold. Once completely dry, the outer skin will peel away easily, revealing the sponge-like interior.
Remember, the earlier you harvest, the softer the fibers will be—ideal for edible luffas but useless for sponges. For the best results, wait until the gourds are fully mature, even if that means leaving them on the vine a little longer.
Patience pays off with long-lasting, high-quality sponges that’ll outlast store-bought options. 🎋
Luffa gourd harvesting mistakes to avoid (and how to fix them)
Harvesting luffa gourds at the wrong time is the fastest way to ruin their sponge potential. Many gardeners make the same costly mistakes—like picking too early for soft, unusable fibers or waiting too long for brittle, cracked gourds.
Even after harvest, improper drying or storage can turn your hard work into dust. Let’s fix these common blunders before they happen.
One of the biggest mistakes is harvesting green luffa gourds for sponge use. If you cut them when they’re still firm and green, the fibers won’t develop properly. These gourds are edible at this stage, but they’ll never turn into durable sponges.
Always wait until the skin turns yellow or tan and feels dry and papery—this is your cue for the perfect harvest.
Another critical error is ignoring the "hollow rattle" test. A ripe luffa should sound hollow when tapped—like a dried-out drum. If it feels heavy or squishy, it’s not ready. Skipping this step often leads to gourds that rot during drying or crumble before you can use them.
Pro tip: Tap with your knuckles near the stem end for the clearest sound.
- Skin color: Yellow or tan (never green)
- Texture: Dry and fibrous (not soft or squishy)
- Sound: Hollow rattle when tapped (like a drum)
- Stem: Dried and shriveled (not green or moist)
⚠️ Warning: Harvesting too early = mushy fibers. Harvesting too late = brittle, cracked gourds.
Even if you nail the harvest timing, improper drying methods can ruin your luffa gourds. Many gardeners hang them indoors where humidity lingers, leading to mold or slow drying. Instead, place them in a well-ventilated, dry area with direct sunlight for 2–4 weeks.
Turn them occasionally to ensure even drying. If you notice dark spots or soft areas, separate the gourd immediately to prevent spoilage.
Storage blunders are another silent killer of luffa sponge potential. Storing freshly dried gourds in plastic bags traps moisture, causing them to sweat and rot. Instead, keep them in a cool, dry place with good airflow, like a mesh bag or open shelf.
If you stored them incorrectly and they develop mold, don’t toss them! Scrub the gourd with a vinegar-water solution, let it dry completely in the sun, and it’ll often be salvageable.
If you’ve already made one of these mistakes, don’t panic. A half-dry luffa can still be saved by extending its drying time in a dehumidifier or sunny window. For overripe gourds, soak them in warm water for 24 hours to soften brittle spots before redrying.
With a little patience, even "ruined" luffas can become high-quality sponges—just give them the extra care they need.