
How To
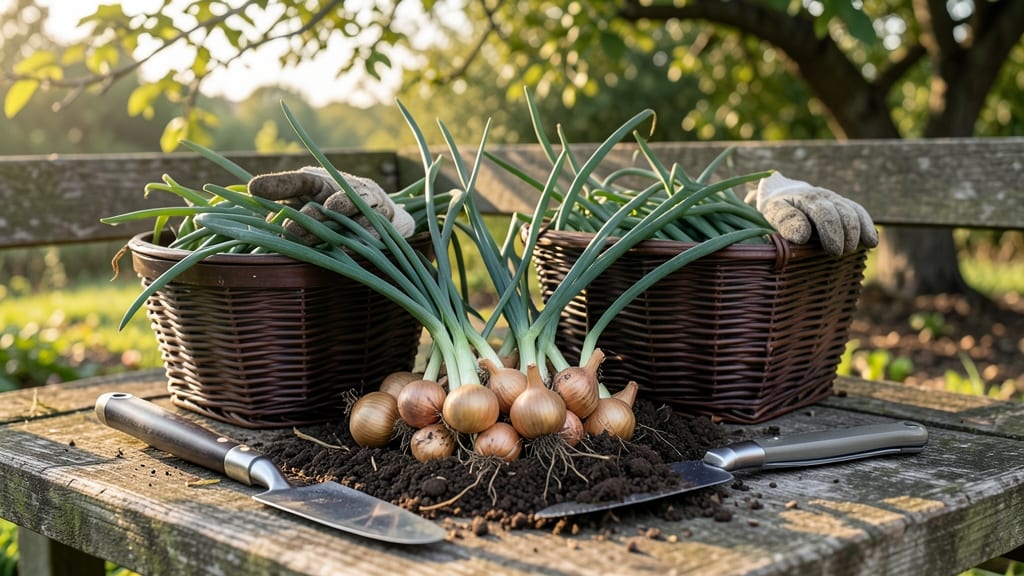
Harvesting shallots at the right time means the difference between bold flavor and bland disappointment, and most gardeners miss the window by days.
Picture this: you’ve nurtured your 🧅 shallots all season, and now the tops are turning golden—but is it too late? Or just right? The answer lies in three simple soil tests that reveal when your bulbs are perfect for harvest, whether you’re growing them for storage or fresh eating.
Timing matters more than you think. Harvest too early, and you’ll get small, underdeveloped bulbs. Wait too long, and the flavor fades while pests move in.
In USDA Zone 6a, the ideal window is late summer to early fall, but the real secret is reading the soil and the plants—not just the calendar.
Below, I’ll walk you through the three key tests to determine when your shallots are ready, plus how to handle them afterward for maximum storage life and taste. No more guesswork—just perfect harvests, every time.
3 Soil tests to determine perfect shallot harvest timing
Knowing when to harvest shallots is all about reading your plants—and your soil. Unlike onions, shallots don't send up a flower stalk to signal maturity, so you need reliable tests.
The three methods I rely on—soil probing, leaf color analysis, and bulb size checks—work together to give you a clear picture.
These tests don't just tell you when to harvest; they help you avoid the two biggest mistakes: harvesting too early (small, pungent bulbs) or too late (soft, sprouting shallots).
Let's start with the simplest test: soil probing. This method reveals what's happening below ground where your shallots are forming. Grab a garden trowel or even a sturdy skewer and gently insert it about 2 inches into the soil near your plants.
What you're looking for is resistance—not the crunch of rocks, but the firmness of a mature bulb. When you probe and feel that resistance at the right depth, your shallots are likely ready. This test works best when combined with the other two methods for accuracy.
If you're growing shallots in containers or raised beds, soil probing becomes even easier. Simply lift the plant gently by its base leaves and check the bulb size. The roots should be white and firm, not brown or mushy.
For in-ground shallots, use a hand fork to carefully lift a test plant. This gives you a direct look at bulb development without damaging your entire crop. Remember, shallots are shallow-rooted, so never probe deeper than 3 inches.
| Test Method | What to Look For | Best Time to Test | Harvest Readiness |
|---|---|---|---|
| Soil Probing | Firm resistance at 2" depth | Late summer (August) | Ready when probe meets resistance |
| Leaf Color | 50% yellowing tops | Early fall (September) | Ready when half leaves turn yellow |
| Bulb Size | 1-2" diameter, firm texture | Late summer/early fall | Ready when bulbs reach golf-ball size |
Next up is leaf color analysis, which is often the most noticeable sign that your shallots are nearing harvest. Healthy shallot leaves start turning yellow from the tips inward as they prepare to die back.
Aim to harvest when about 50% of the foliage has yellowed—this is the sweet spot for flavor and storage life. If you wait until the leaves are completely brown and crispy, you risk the bulbs becoming soft or even sprouting.
For baby shallots, you can harvest earlier when leaves just start yellowing at the tips.
Here's a pro tip: Time your leaf checks in the morning after dew has dried. Wet leaves can give a false "healthy green" appearance, masking the yellowing that signals maturity. Also, pay attention to the leaf texture. Ready-to-harvest leaves should feel dry and papery, not crisp or rubbery.
If you're growing multiple varieties, check each one separately—they may mature at slightly different rates. This is especially true for French gray shallots, which tend to mature faster than red shallots.
The final test is the most direct: bulb size checks. Mature shallots should reach about 1 to 2 inches in diameter. To test without damaging your crop, gently lift one plant from the edge of your bed or container. Look for firm, well-rounded bulbs with dry, papery skins.
If the bulbs are smaller than a golf ball but firm, you can harvest them as baby shallots for early-season use. Overly large shallots (bigger than a tennis ball) often have tougher skins and less flavor, so aim for that 1-2 inch sweet spot.
One common mistake I see is harvesting based solely on calendar dates. While shallots typically mature between 105 to 120 days after planting, local climate and variety can shift that window by weeks. Always combine these soil tests with your local frost dates.
In USDA Zone 6a, I aim to harvest by mid-September to avoid early frost damage. If you're in a warmer zone, you might have until October. The key is to harvest before the first frost, which can cause bulbs to rot in the ground.
For container-grown shallots, bulb size checks are especially critical since you can't probe as easily. Lift the entire pot and inspect the bulbs through the drainage holes. If they're ready, you can harvest the whole plant.
In-ground shallots benefit from a gentle loosening of soil around the base before lifting to prevent damage. Always use a sharp knife or shears to trim the foliage down to 1 inch above the bulb—this helps the curing process and reduces disease risk.
Remember, these tests work best when used together. A single method—like waiting for all leaves to turn brown—can lead to over-mature shallots that sprout or rot. By combining soil probing, leaf color, and bulb size, you'll consistently harvest shallots at their peak: firm, flavorful, and storage-ready.
Once you master these tests, you'll never again guess when to pull your shallots from the garden.
Shallot size and flavor guide: when small vs. large harvests work best
Harvesting shallots at the right size transforms their flavor and usability. Baby shallots, harvested early, offer tender, sweet notes perfect for fresh salads, while mature shallots develop deeper, sharper flavors ideal for storage and cooking.
The timing of your harvest determines everything from taste to shelf life—so understanding these differences is key to maximizing your crop's potential.
Your choice between small and large shallots isn't just about size—it's about flavor intensity and culinary application. Early harvests yield mild, delicate shallots, while waiting for full maturity delivers robust, pungent bulbs. Let's explore when to harvest for each type and how to use them to elevate your dishes.
Baby Shallots (Early Harvest)
- Milder, sweeter flavor
- Perfect for fresh eating
- Earlier harvest window
- Shorter storage life
- Smaller yield per plant
- Less intense flavor
Mature Shallots (Late Harvest)
- Deeper, more complex flavor
- Longer storage potential
- Larger bulb size
- More pungent (not for all dishes)
- Requires proper curing
- Later harvest timing
For baby shallots, harvest when bulbs reach about 1 inch in diameter and tops begin turning yellow. These tiny treasures pack a gentle onion-like sweetness that works beautifully in salads, garnishes, or lightly sautéed dishes.
Their short storage life (2-3 weeks) means you'll want to use them quickly or preserve them through pickling.
Mature shallots should be harvested when tops have fully yellowed and dried back. Aim for bulbs 1.5-2 inches wide with dry, papery skins. These store for up to 6 months in cool, dry conditions and deliver that classic sharp, robust flavor perfect for soups, stews, and caramelizing. The trade-off? Their stronger taste may overpower delicate recipes.
Consider your culinary goals when deciding harvest timing. Need quick, fresh flavors for summer dishes? Go for baby shallots. Planning to stock your pantry for winter cooking? Wait for full maturity.
My garden often produces a mix—early harvests for summer meals and later harvests for fall storage. This dual approach ensures I have both sweet and bold shallots on hand year-round.
Pro tip: If you're unsure whether your shallots are ready, gently dig up one bulb. The skin should be dry and papery, and the bulb should feel firm—not soft or rubbery.
This simple test saves you from harvesting too early or too late, ensuring perfect flavor and texture every time.