
How To
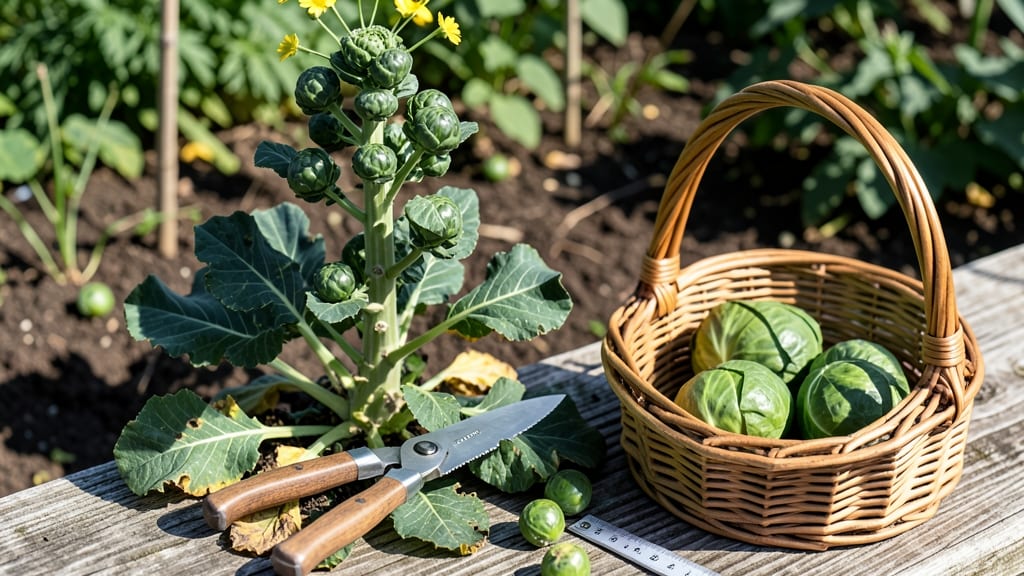
To harvest Brussel sprouts at their peak crispness and flavor, you’ll need to time it just right—typically between 90 and 120 days after planting, when the sprouts are 1 inch wide and deep green.
Brussel sprouts are one of the most rewarding—and picky—vegetables to harvest. Get them wrong, and you’ll end up with bitter, woody sprouts instead of crisp, flavorful bites. But master the timing, and you’ll enjoy a harvest that rivals any farmer’s market find.
Here’s the key: start checking for readiness in early October, when cooler temperatures signal maturity. Look for firm, tight buds that yield slightly when pressed—this is your cue to pick them before they toughen up.
Below, I’ll walk you through the exact size, color, and texture cues to watch for, plus how to extend your harvest season by picking strategically from the bottom up.
Brussel sprout maturity timeline: when to start checking for harvest readiness
Brussel sprouts take 60 to 120 days to mature after transplanting, but the ideal harvest window typically begins around 90 days for peak flavor and texture. This timeline assumes you planted seeds 4-6 weeks before your last frost and maintained full sun exposure and consistent moisture.
The key is watching for visual and tactile cues rather than relying solely on days since planting.
Most gardeners start checking for harvest readiness around late summer to early fall, depending on your climate zone. In USDA Zone 6a, this usually means mid-September to October. However, if you planted early varieties or in cooler regions, you might begin as early as August.
The first sprouts to form are at the base of the plant, so this is where you’ll want to focus your attention first.
Here’s the maturity timeline breakdown you should track, including how to visually assess each stage:
| Stage | Days After Transplant | Visual Cues | Action |
|---|---|---|---|
| Sprout Formation | 60-75 days | Small buds (1/2 inch) appear at base; color is pale green. | Monitor for color deepening and size increase. |
| Early Maturity | 75-90 days | Buds grow to 3/4 inch; color turns rich green or purple. | Begin tactile checks for firmness. |
| Peak Harvest | 90-105 days | Buds reach 1 inch diameter; deep, consistent color; slight yellowing of top leaves. | Harvest from bottom up using a sharp knife. |
| Late Maturity | 105-120 days | Buds may overmature (woody texture); top leaves brown and die. | Harvest remaining sprouts quickly before quality declines. |
The color change is one of the most reliable indicators of harvest readiness. Start with pale green buds that gradually deepen to a rich green or purple hue, depending on the variety.
For example, ‘Long Island Improved’ develops a deep green color, while ‘Ruby’ turns a striking purple. If the color remains light or uneven, the sprouts likely need more time in the ground.
Size is another critical factor. Aim for 1-inch diameter sprouts, which are large enough to be flavorful but not yet woody or overmature. Smaller sprouts (1/2 inch or less) are often tough and bitter, while oversized ones (>1.5 inches) can become fibrous and less tender.
Use a ruler or caliper for precise measurements if you’re unsure.
Don’t overlook the texture test, which is just as important as size and color. Gently press a sprout between your fingers—it should feel firm but slightly tender, almost like a crisp apple.
If it’s hard and resistant, it’s underripe; if it feels soft or mushy, it’s past its prime. This tactile check helps avoid the common mistake of harvesting sprouts that are visually ready but still woody.
Temperature also plays a role in timing. In cooler climates, sprouts may mature more slowly, requiring up to 120 days to reach harvest size. Conversely, in warmer regions, they can mature in as few as 80 days if planted early.
Keep an eye on your local frost dates—if a hard frost is forecasted before your sprouts are ready, consider harvesting slightly earlier or using row covers to extend the season.
One pro tip I’ve learned is to harvest sequentially from the bottom up. This encourages the plant to produce more sprouts higher up, extending your harvest window by 2-4 weeks.
Always use a clean, sharp knife or pruners to snip sprouts 1 inch above the bud, leaving the stem intact. This minimizes damage to the plant and promotes continued growth.
If you miss the optimal harvest window, don’t despair—overmature sprouts can still be used, though their texture and flavor will suffer. For the best results, though, plan to harvest weekly or bi-weekly once the first sprouts reach 1 inch in size.
This ensures you’re enjoying crisp, flavorful brussel sprouts at their peak, straight from your garden to your table. 🥦
Tactile tests for perfect brussel sprouts: how to feel (not just see) when they're ready
Harvesting brussel sprouts isn't just about checking their size or color—it's about what they feel like in your hands. A perfect sprout should have a firm yet slightly yielding texture, almost like a well-ripened peach.
When you squeeze too hard and feel resistance, that's your cue to harvest sooner rather than later. This tactile approach helps you avoid the bitter, woody sprouts that develop when left too long on the plant.
Start by running your fingers along the sprout's surface. Ready-to-harvest sprouts should have a smooth, taut skin with no rough or fibrous patches. If the skin feels tight and slightly springy, that's a good sign.
Press gently—if it gives just a little, it's perfect. Overripe sprouts, on the other hand, will feel soft or mushy when pressed, a clear indication they've passed their prime.
⚠️ callout-warning ⚠️
Leaving brussel sprouts on the plant for more than 2 weeks past readiness causes them to turn woody and bitter. The ideal harvest window is when sprouts are 1-1.5 inches wide—any larger, and flavor suffers. Check sprouts every 3-5 days starting at 90 days after transplanting.
The snap test is my favorite trick for determining crispness. Gently bend a sprout sideways—if it snaps cleanly with a slight crack, it's ready to harvest. A crisp snap means the sprout is tender and sweet, while a bendy or rubbery feel signals it's still too young.
This test works best on the bottom-most sprouts, which mature first and are often the most flavorful.
Don't overlook the bud tightness when testing. Perfect brussel sprouts should have compact, tightly closed buds that haven't started to loosen or flower. If you see yellowing or browning at the tips of the buds, harvest immediately—these are signs the sprout is bolting and will quickly become inedible.
Always harvest from the bottom up to encourage new sprouts to form higher on the stalk.
Temperature plays a hidden role in texture. In cool fall weather (50-60°F), sprouts develop their best flavor and crispness. If your harvest season stretches into warmer months, sprouts may mature faster but lose some firmness.
To combat this, water consistently and mulch around the base to keep roots cool. Avoid harvesting after a hard frost, as this can make sprouts soft and watery.
Finally, trust your instincts. If a sprout feels just slightly off—maybe a little too firm or not quite as smooth as others—it's better to harvest it sooner. You can always blanch and freeze any slightly underripe sprouts to improve their texture later.
The goal is to harvest at peak freshness, and tactile tests are your best tool for achieving that every time.