
How To
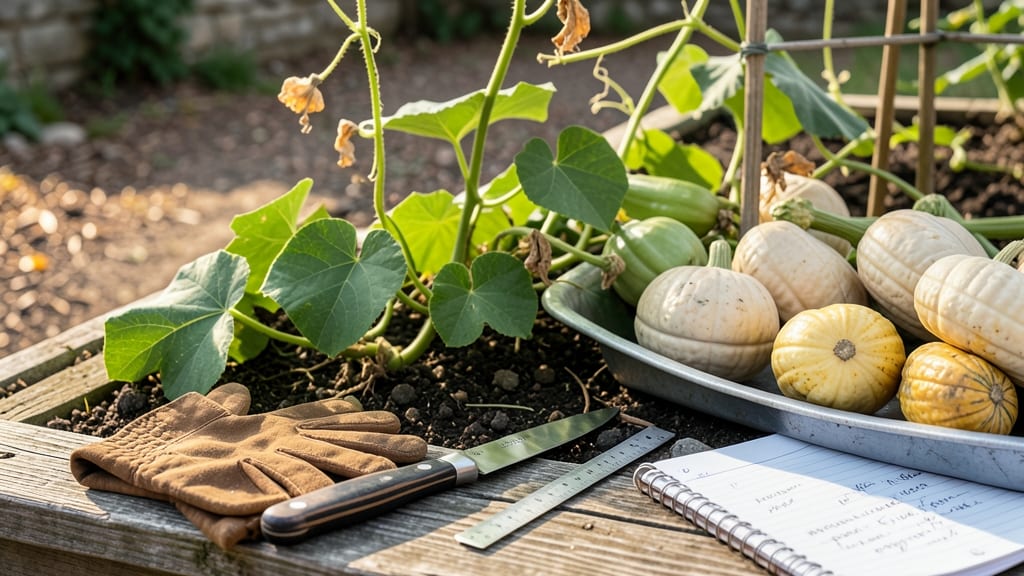
Harvesting birdhouse gourds 🎋 at the right time ensures you get hard, dry seed pods instead of rotten messes—here’s how to tell when they’re ready.
Picture this: you’ve spent all summer nurturing your vines, and now the gourds are growing fast. But if you wait too long, they’ll split open or turn mushy. The secret? Watching for that seed color shift from green to white or yellow—it’s your first clue that harvest time is near.
Beyond color, you’ll also need to check the skin hardness and stem condition. A mature birdhouse gourd’s rind should be tough enough to resist a fingernail, and the stem should start drying out.
Miss these signs, and you might end up with gourds that won’t store well—or worse, won’t even dry properly for seed saving.
In this guide, I’ll walk you through the exact steps to test for readiness, adjust for your climate zone, and avoid the most common mistakes that turn a great harvest into a disappointment.
How to identify the perfect seed color shift in birdhouse gourds
Harvesting birdhouse gourds at the right time ensures you get hard, durable seed pods perfect for crafts or storage. The most reliable indicator? Watching the seed color shift from green to white or yellow inside the gourd.
This transformation signals the gourd has reached peak maturity and is ready for harvest.
Birdhouse gourds start with bright green seeds when young. As they mature, these seeds gradually turn creamy white or pale yellow. This color change happens because the seeds develop hard outer shells to protect the embryo, making them ideal for long-term storage or crafting birdhouses.
Timing this shift correctly prevents two common mistakes: harvesting too early (soft, unusable gourds) or too late (overripe, mushy interiors). The seed color shift typically occurs 80–100 days after planting, but environmental factors like temperature and daylight can shift this window by 1–2 weeks.
Here’s how to use the seed color shift as your primary harvest indicator, along with other visual cues to confirm readiness:
| Stage | Seed Color | Rind Condition | Stem Signs | Harvest Ready? |
|---|---|---|---|---|
| Early Growth | Bright green | Soft, easy to dent | Green and flexible | ❌ No |
| Mid-Maturity | Green with white/yellow edges | Firm but slightly pliable | Green, slight browning at base | ⚠️ Maybe (check daily) |
| Peak Maturity | Creamy white/yellow | Hard, difficult to puncture | Brown and dry at base | ✅ Yes! |
| Overripe | White/yellow with dark spots | Soft, wrinkled, or cracked | Fully brown and brittle | ❌ Too late |
🌱 Pro Tip: Cut open a gourd to check seed color if unsure—this is the most accurate method!
In warmer climates (USDA zones 8–10), the seed color shift often happens by late August to early September. Meanwhile, gardeners in cooler zones (4–7) may see this change as late as October, especially if frost threatens. Always prioritize the seed color over calendar dates.
Combine the seed color shift with the skin hardness test: press your fingernail into the gourd’s skin. If it doesn’t puncture easily, it’s ready. Pair this with a dry, brown stem at the base for foolproof results.
Ignoring these cues can lead to gourds that rot on the vine or shatter when dried.
If you’re growing birdhouse gourds for seed saving, harvest when seeds are fully white/yellow but before the gourd’s skin turns dull or cracks. This ensures high germination rates for next year’s garden. Store harvested gourds in a cool, dry place for 2–4 weeks to fully cure before use.
Remember, birdhouse gourds are sensitive to frost. If temperatures drop below 40°F (4°C), harvest immediately—even if seeds aren’t fully white. A quick-dry method (like baking at 200°F for 1 hour) can salvage gourds if frost catches them off-guard.
For container gardeners, monitor the seed color shift more closely since gourds in pots mature slightly faster due to warmer root zones. Use a small knife to gently slice open a gourd if you’re unsure—this non-destructive check gives you instant confirmation without risking the harvest.
🎋 The seed color shift is your best friend when harvesting birdhouse gourds. Pair it with the skin hardness test, and you’ll never second-guess whether your gourds are ready again!
The skin hardness test: a Step-by-Step guide to avoid overripe gourds
Harvesting birdhouse gourds at the right moment ensures hard, durable seed pods perfect for crafts or storage. The skin hardness test is my go-to method—it’s simple, reliable, and beats guessing by color alone.
Overripe gourds become mushy and unusable, while underripe ones won’t cure properly. Let’s master this tactile test to nail your harvest timing every time.
Before diving into the test, know that environmental factors like humidity and rain can trick you. Humid conditions soften gourds faster, while dry heat slows ripening. Check your gourds weekly in late summer once they’ve stopped growing rapidly.
The key? A firm, glossy rind that resists gentle pressure—this is your green light to harvest.
- 👆 Step 1: Select a Gourd
Pick a medium-sized gourd (4–6 inches) that’s stopped growing. Avoid damaged or cracked ones. - 👆 Step 2: Press Gently
Use your thumb and forefinger to press the rind. If it dents easily, it’s not ready. - 👆 Step 3: Test with Fingernail
Try to pierce the skin with your fingernail. If it doesn’t puncture, the gourd is firm and ready. - 👆 Step 4: Check the Stem
Look for a drying, brown stem at the base. A green stem means more time on the vine. - 👆 Step 5: Tap for Hollow Sound
Give the gourd a light tap. A hollow, deep sound confirms maturity.
Avoid these common mistakes that lead to wasted gourds: harvesting too early because the vine looks tired, or waiting too long after the rind turns yellow. Rainy weather can soften gourds temporarily—wait for dry days to test accurately. Pro tip: Harvest on a sunny morning when gourds are firmest.
If you’re in a humid climate, like the Southeast, gourds may ripen faster. Monitor them every 3–4 days in late summer. In drier regions, like the Southwest, gourds can take longer—don’t rush!
Patience pays off with harder, longer-lasting seed pods. Once harvested, cure them in a dry, shaded spot for 2–3 weeks to seal their durability.
Remember, the skin hardness test is your best friend for birdhouse gourds. Combine it with the stem drying and seed color shift (from green to white) for foolproof results. With practice, you’ll harvest gourds at peak maturity—every time. Happy gardening!