
How To
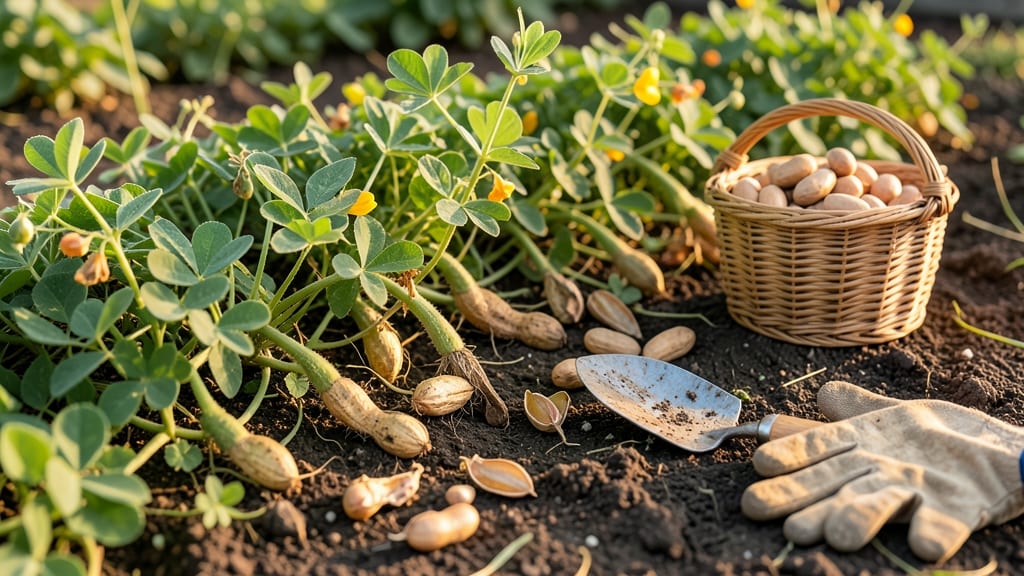
Harvest peanuts when the leaves yellow and pods feel firm 🥜 — timing this right means the difference between sweet, plump nuts and bitter, shriveled failures.
Picture this: you’ve spent months nurturing your peanut patch, only to dig up a mess of green, underdeveloped pods or worse, ones that crumble at the touch.
The key to avoiding this frustration lies in watching for three critical signs—leaf color, pod firmness, and soil conditions—that tell you the moment is now.
In USDA Zone 6a, where most home gardeners grow peanuts, the harvest window opens around mid-September and closes by mid-October. But don’t rely on the calendar alone—frost can sneak in early, turning your crop into a sad, moldy memory.
Instead, focus on the plant’s cues: browned foliage, pods that rattle when shaken, and shells that separate cleanly from the vine.
Below, I’ll walk you through how to spot these ready-to-harvest signals, the step-by-step digging process, and even how to troubleshoot if your peanuts play hard to get. No more guesswork—just perfect timing for a bountiful harvest.
How to identify the perfect harvest time for peanuts
Peanuts are ready for harvest when they show clear visual cues like yellowing leaves and firm pods. Missing these signs can lead to shriveled or moldy harvests, so timing is everything. Most varieties need 120–150 days from planting, but environmental factors can shift this window.
Start by checking the foliage color—healthy green leaves turn yellow-brown as the plant matures. This signals the pods are nearing peak ripeness. If you wait too long, the leaves will completely dry and fall off, making the pods harder to find underground.
Next, examine the pod firmness. Mature peanuts should feel hard and dry when gently squeezed, with shells that separate easily from the pod. If they’re still soft or green, they need more time. A quick shake test also helps—ready pods rattle inside the shell.
| Indicator | Ready Signs | Not Ready Signs |
|---|---|---|
| Leaf Color | Yellow-brown, drying | Bright green, healthy |
| Pod Size | 3–4 inches long | Small, green, <2 inches |
| Pod Firmness | Hard, dry, rattles | Soft, mushy, no rattle |
| Shell Color | Tan or brown | Green or white |
| Soil Temp | 60–70°F (ideal digging temp) | Below 50°F (risk of rot) |
Regional growing seasons affect harvest timing. In warmer climates (Zones 8–10), peanuts may mature earlier—as soon as 90 days—while cooler zones (6–7) often need the full 140–150 days. Always monitor frost risk; harvest before the first frost, which can damage pods underground.
Soil conditions also play a role. Dig when the ground is dry but not bone-dry—this prevents pods from breaking apart. If rain is forecast, harvest 2–3 days ahead to avoid waterlogged soil. Use a garden fork to gently lift plants, then shake off excess dirt to inspect pods.
For uneven maturity, harvest in stages. Check a few plants first—if some pods are ready while others aren’t, dig the mature ones and leave the rest to ripen. This staggered approach maximizes yield without sacrificing quality.
Finally, store harvested peanuts in a cool, dry place (60–70°F) with good airflow. Spread them on screens or trays for 1–2 weeks to cure, then shell and enjoy. Proper timing ensures plump, flavorful peanuts every time!
✂️
Step-by-step peanut harvesting process: digging, drying, and storage
Harvesting peanuts is all about timing and technique. If you dig too early, the pods won’t be fully developed, but waiting too long risks frost damage or mold. Peanuts mature underground, so you’ll need to carefully dig up your plants when the right signs appear.
I’ve learned that patience here pays off—rushing leads to shriveled, flavorless nuts.
Once your peanuts show 3 key readiness signs—yellowing leaves, firm pods, and dry foliage—it’s time to act. The process involves digging, curing, and storing properly to avoid spoilage.
Skipping any step risks mold, rot, or poor storage life. Let me walk you through each phase so you can harvest like a pro.
Check for pod firmness and leaf color
Press a pod—it should feel hard and dry, not soft. Leaves should yellow and dry back, signaling maturity. Shake plants gently; if pods rattle, they’re ready.
Dig gently but deeply (6–8 inches)
Use a garden fork to loosen soil around plants. Dig slowly to avoid damaging pods. Lay plants in the sun to dry for 2–3 hours before shaking off excess soil.
Cure in warm, dry conditions (70–80°F)
Spread plants in a single layer on a screen or rack. Cure for 7–10 days in a well-ventilated area. Avoid direct sun to prevent over-drying or cracking.
Store in cool, dry places (50–60°F)
Once fully dry, remove pods from vines. Store in paper bags or mesh sacks in a cool, dark pantry. Check monthly for mold or pests.
Pro tip: If frost threatens before harvest, dig immediately—even slightly underripe peanuts will cure better than frozen ones. I’ve salvaged entire crops this way! Just extend the curing time by a few extra days to compensate.
Never skip the drying phase—peanuts stored with moisture will mold within days. Aim for 10% or less moisture before storing. Test by breaking a pod: if it snaps cleanly, it’s ready. If it feels damp, dry longer.
With these steps, you’ll go from harvest to storage like a seasoned gardener. The key is consistency—dig at the right time, cure properly, and store wisely. Your patience will reward you with plump, flavorful peanuts all winter long. 🥜