
How To
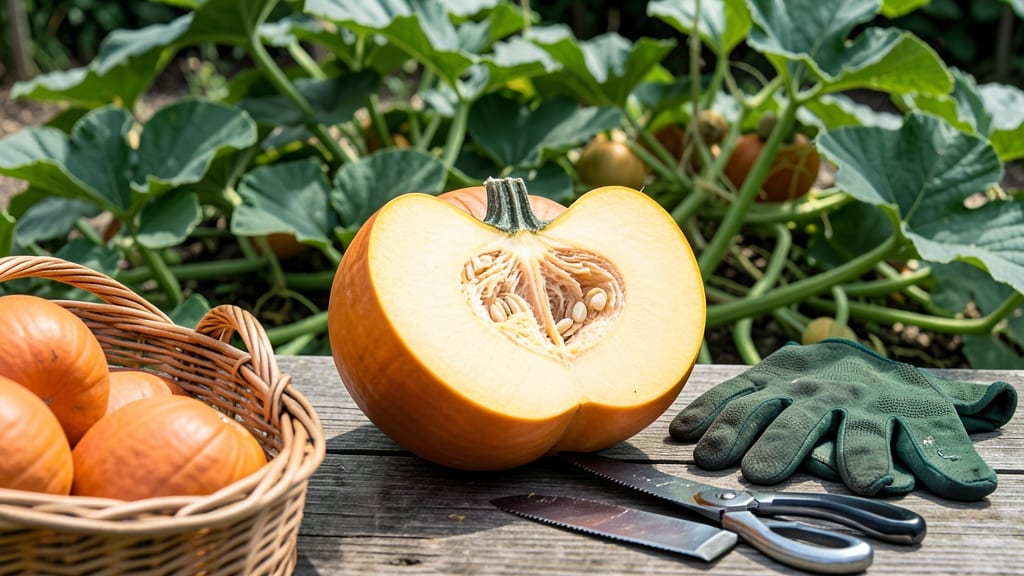
Harvesting butternut pumpkins at the right time turns a bitter, hard squash into a sweet, velvety treasure 🎃 — but one wrong move ruins everything.
Picture this: you’ve nurtured your butternut pumpkin all season, and now it’s time to decide—pull it now or wait a few more days? The difference between perfect flavor and a tough, tasteless mess comes down to three simple tests most gardeners miss.
Too early, and you’ll end up with watery, underdeveloped fruit. Too late, and the flesh turns fibrous and dry. The key is catching that narrow window when the skin hardens, the stem dries, and the fruit feels heavy for its size—all signs your pumpkin is ready to shine.
Below, I’ll walk you through the exact tactile checks I use every year to guarantee a harvest that’s sweet, tender, and packed with flavor—no guesswork required.
3 Tactile tests to determine perfect butternut pumpkin ripeness
Butternut pumpkins reach their peak flavor when harvested at the right moment—too soon, and they’re bitter; too late, and they become tough and stringy. The key lies in your hands and eyes, using simple tactile tests to confirm maturity.
These methods work for both gardeners with decades of experience and beginners eager to avoid common mistakes. The best part? You don’t need fancy tools—just your fingers, a little patience, and a keen eye for detail.
One of the most reliable indicators is the skin color, which shifts from green to a dull, matte orange as the pumpkin matures. But color alone isn’t enough—you’ll also need to check the stem and seed firmness.
Combining these three tests ensures you harvest at the perfect time, every season. Whether you’re growing Waltham or Long Neck varieties, these tactile checks apply universally.
Here’s how to perform each test step-by-step, with clear cues to guide you:
🌱 3 Tactile Tests for Butternut Pumpkin Ripeness
-
Test 1: Skin Color & Texture
Press your thumbnail into the rind. If it doesn’t puncture easily and the skin feels hard and dull (not shiny), the pumpkin is ready. Look for dull orange patches—this signals maturity. -
Test 2: Stem Separation
Gently twist the stem near the pumpkin. If it snaps cleanly (not tears) and the stem dries out (turns brown or papery), harvest immediately. A green, flexible stem means more time is needed. -
Test 3: Seed Firmness
Cut open the pumpkin and check the seeds. They should feel firm and fully formed, not soft or shriveled. If seeds are plump and white, the pumpkin is at peak sweetness.
Start with the skin color test—this is your first clue. A pumpkin with 50% dull orange skin is a good candidate for further testing. But don’t rush: wait until at least 75% of the skin turns matte orange before proceeding.
This ensures the fruit has fully matured inside, not just on the surface. For example, my Waltham pumpkins often show early color changes on the side facing the sun, so I always check multiple angles.
The stem separation test is where many gardeners make mistakes. A common error is harvesting when the stem is still slightly green—this means the pumpkin isn’t fully ripe. Instead, wait until the stem dries out completely and separates with minimal resistance.
This usually happens 1-2 weeks after the skin turns orange. Pro tip: Use a clean, sharp knife to cut the stem if it’s too dry to twist off easily.
Finally, the seed firmness test is the ultimate confirmation. Soft or underdeveloped seeds mean the pumpkin needs more time on the vine. Fully ripe seeds should feel dense and white, like small marbles.
If you’re unsure, slice into the pumpkin’s neck (thickest part)—this is where flavor and texture are most consistent. Overripe pumpkins often have shriveled seeds and a hollow center, so act quickly once you see these signs.
Timing is critical because butternut pumpkins stop ripening once picked. If harvested too early, they’ll never develop their signature sweetness, no matter how long you store them. On the other hand, waiting too long risks woody texture and reduced shelf life.
To avoid these pitfalls, perform all three tests within a 24-hour window—this gives you the most accurate reading of the pumpkin’s maturity.
One question I get often is: "What if frost is coming, but my pumpkins aren’t fully ripe?" In this case, harvest before the first frost and cure them indoors. Place the pumpkins in a warm, dry spot (70-80°F) for 10 days to finish ripening.
This works because the curing process mimics the vine’s natural maturation. Just be sure to avoid direct sunlight during curing, as it can scorch the skin.
Remember, every butternut variety has slight variations in maturity. For instance, Long Neck pumpkins may take 10-14 days longer to ripen than Waltham types. Keep a harvest journal to track your plants’ progress—note the days to maturity for each variety in your climate.
Over time, you’ll develop an instinct for when to pick, even without testing.
With these tactile tests, you’ll never guess again when to harvest butternut pumpkins. The next time you’re in your garden, take a moment to run your fingers over the rind, twist the stem, and peek at the seeds.
Your future soups, stews, and roasted dishes will thank you for the extra effort—because perfectly ripe butternut pumpkins taste like homegrown magic. 🎃
Butternut pumpkin harvest timeline: days to maturity by variety
Timing your butternut pumpkin harvest depends on the variety you're growing, as some mature faster than others. Understanding these days-to-maturity ranges helps you plan for peak flavor and avoid frost-related losses. Most varieties reach harvest readiness between 80 and 120 days, but cooler climates may extend this window.
For gardeners in USDA Zone 6a or warmer, most butternut varieties align with a late September to October harvest. However, early varieties like 'Long Neck' can be ready as soon as 80 days, while heirloom types like 'Waltham' may take up to 120 days.
Adjust your planting schedule to ensure you harvest before the first frost.
| Variety | Days to Maturity | Harvest Window | Climate Notes |
|---|---|---|---|
| 'Long Neck' | 80-90 days | Late August to early September | Early maturing; ideal for short seasons |
| 'Waltham' | 100-120 days | Late September to October | Classic heirloom; needs longer season |
| 'Sugar Pie' | 90-100 days | Early to mid-September | Sweet flavor; great for baking |
| 'Small Sugar' | 85-95 days | Late August to September | Compact; good for containers |
To extend your harvest window, choose faster-maturing varieties like 'Long Neck' or 'Small Sugar' if you're in a shorter growing season. For cooler climates, start seeds indoors 4-6 weeks before your last frost date to jumpstart growth.
If frost threatens before your pumpkins are ready, use row covers or black plastic mulch to protect them.
If you're aiming to accelerate harvest times, prioritize soil warmth and consistent moisture. Plant in south-facing beds where soil heats up faster, and mulch with straw to retain warmth. Avoid over-fertilizing with nitrogen, which promotes leafy growth over fruit development—stick to a balanced 10-10-10 fertilizer for optimal results.
Pro tip: Mark your planting dates and use a garden journal to track maturity timelines. Over time, you’ll refine your schedule to align harvests with your local climate. For example, in Zone 6a, planting 'Waltham' in mid-May typically yields harvests by early October—just in time for fall recipes! 🎃
Once you’ve mastered the harvest timeline, focus on post-harvest care to preserve sweetness. Cure pumpkins in a warm, dry place for 10 days before storing them in a cool, dark spot (50-55°F). This process deepens their flavor and extends shelf life to 3-6 months. 🌱